Manage identifiers
Topics
General
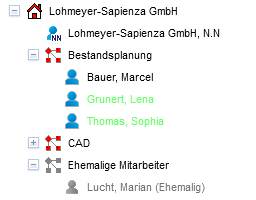
To enable aPersonAnyone who can log in to PlanTeam-SPACE must be assigned an ID. A person with an ID is displayed in color in the Person Tree. Persons without an ID are shown in black text. Former persons are displayed in gray text and labeled "Former".
| Note: | To use the following functions, you must asAdministratoror, depending on the configuration, asProject Managerlogged in! |
Create Identifier
If a person does not yet have an identifier, it is displayed on the Properties page in the field Identifier the value No ID. To create an ID now, select on the right edge of the field Identification the action  .
.
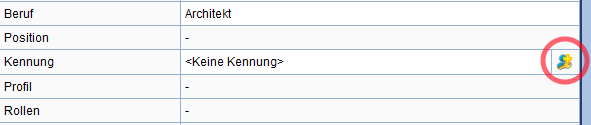
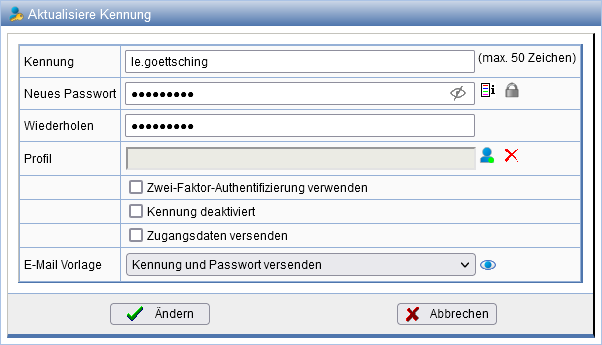
Now assign an identifier and enter the password with repetition.
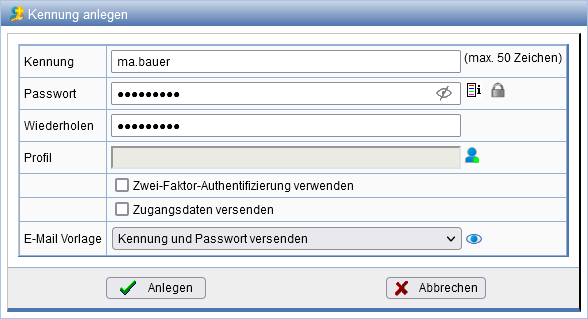
If the selected identifier has already been assigned to another person, you will receive an error message and can enter a different identifier.
Via the symbol you can check the configured password rules (such as
minimum length). With the action
 a password corresponding to these rules can be automatically generated.
The dialog also includes the option to set the profile via  (For more details, see section Profiles), to set the
Two-Factor Authentication as well as to send the configured template for a notification email regarding the assigned identifier and/or password. A preview of the email can be viewed with the action
(For more details, see section Profiles), to set the
Two-Factor Authentication as well as to send the configured template for a notification email regarding the assigned identifier and/or password. A preview of the email can be viewed with the action
.
Change Identifier and Password
To change the identifier or password of a person who already has an identifier,
select on the Properties page of the person, on the right side next to the field Identifier
the action  .
.
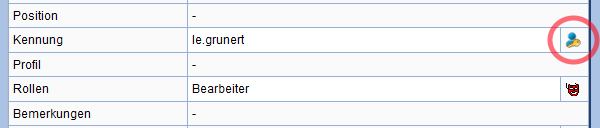
Now enter a new password or change the identifier. If you only want to change the identifier, leave the password fields empty.
Disable Identifier
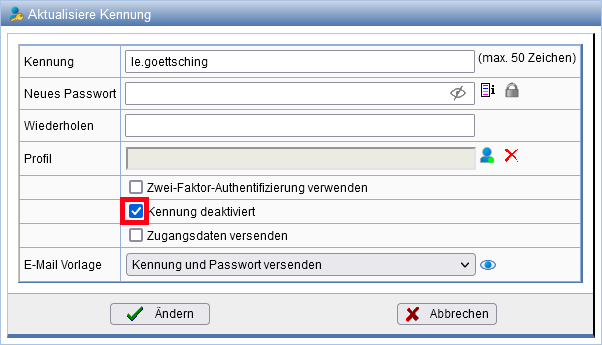
With the option Identifier disabled this identifier can be deactivated in the form for changing an identifier. This identifier can be re-enabled later.
Set Roles for Persons
Members have specific roles in projects, which are coupled with defined rights. By default, members receive the role Editor and can thereby for example upload or download documents to the PlanTeam SPACE. For further information on roles, please visit the page Manage Roles .
On the Properties pages of persons, the roles for pre-assignment upon admission of the person as a member in the projects can be set. Setting roles for persons is only possible for the Administrator and the Project Manager possible and must be configured for the PlanTeam-SPACE.
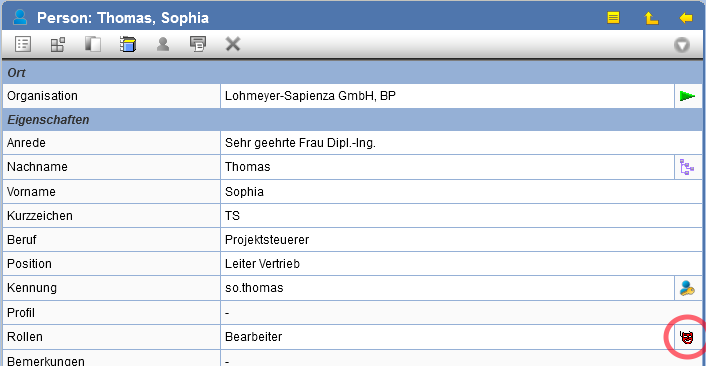
To assign roles to a person, open their properties page and select the icon next to the field
Roles.
A dialog for assigning roles to the member will now be opened. Check the box for each desired role. For further information about the role, use the icon in the
corresponding row.
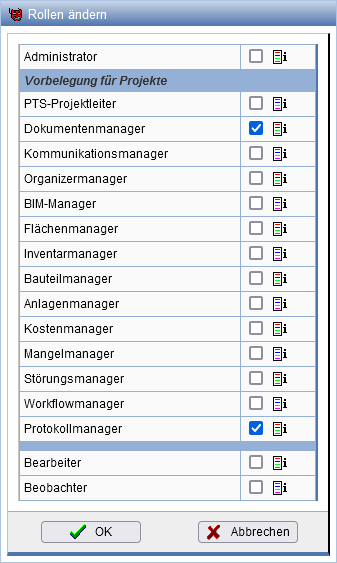
The roles will now be pre-assigned when adding a person as a member to a project in the next step. The roles of existing memberships are not changed via this method. Persons and members with the role Observer receive the symbol  .
.
Profiles
With profiles, the personal settings, in the Toolbar offered actions, Display of Tables, Time windows such as in Message Center as well as the Dashboard Settings for users after one of a profile is set as.
Creating a Profile
To use profiles, a profile organization must be configured. This can be found with the symbol at the top of the tree structure.
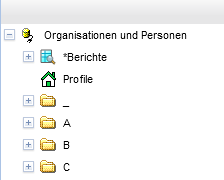
In this organization, profiles can be analogous to Persons to be created.
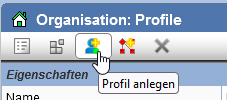
To adjust settings defined by a profile, you must assign an identifier to it and log in with that identifier. Settings you configure for this profile will later be propagated to the selected individuals when the profile is applied. If you wish to adjust settings in specific components (e.g., time windows, dashboards, actions), the profile must be assigned membership in a project.
Applying a Profile
The first assignment and application of a profile is performed
via the action to create
or change the identifier.
Using tables, a profile can be applied to multiple persons at once.
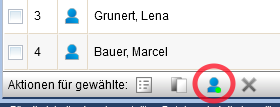
When applying, you can select which settings from the profile should be adopted for the persons.
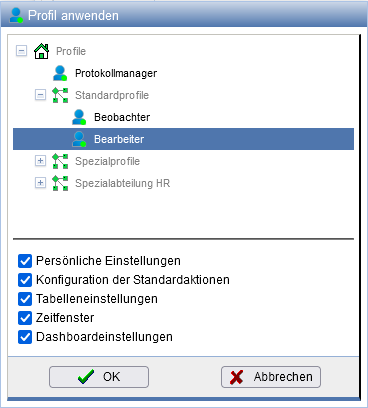
After applying the profile, individual users can continue to adjust the affected settings for themselves as usual. If the profile is applied again, these settings are reset to the specified values. The application of their assigned profile is possible for all users, so they always have the option to reset their settings to the intended standard.
Set person to former
By pressing the symbol in
the action bar of a person, you can set this person to the status "former". Here,
several options become available for handling linked memberships and the
identifier:
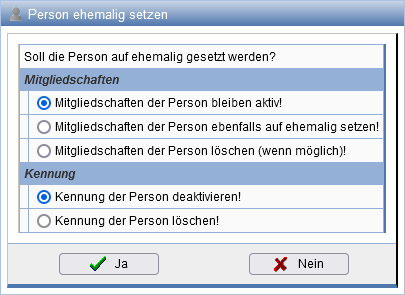
To reactivate a person again, press the symbol again in the action bar. Any existing identifier will also be automatically reactivated.
| Note: | Memberships with the status "former" are not automatically activated and must, if necessary, be manually activated. |