Manage Project Members
Topics
Display Member List
Project members are displayed in the project tree below the assigned group. Individuals can have memberships in multiple groups. Regardless of individual group affiliations, every person is at least included in the group All Involved to be contained.
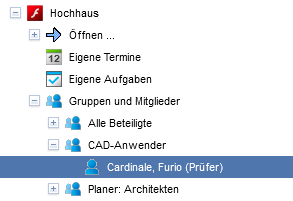
To tabularly display all members involved in a project,
select the action on the properties page
of a project .
Several options are available for the list created below.
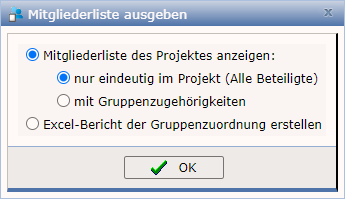
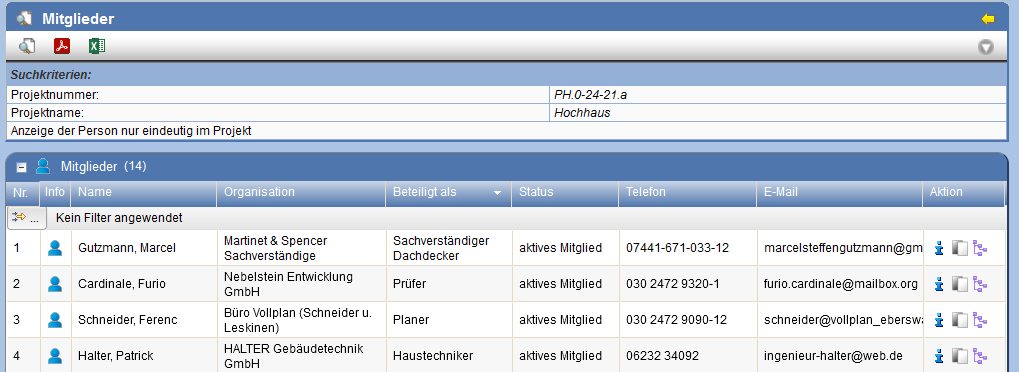
The unique member list includes each person involved as a member exactly once.
The member list with group affiliations lists each member for each of their groups. Members who belong to multiple groups appear accordingly multiple times in the list.
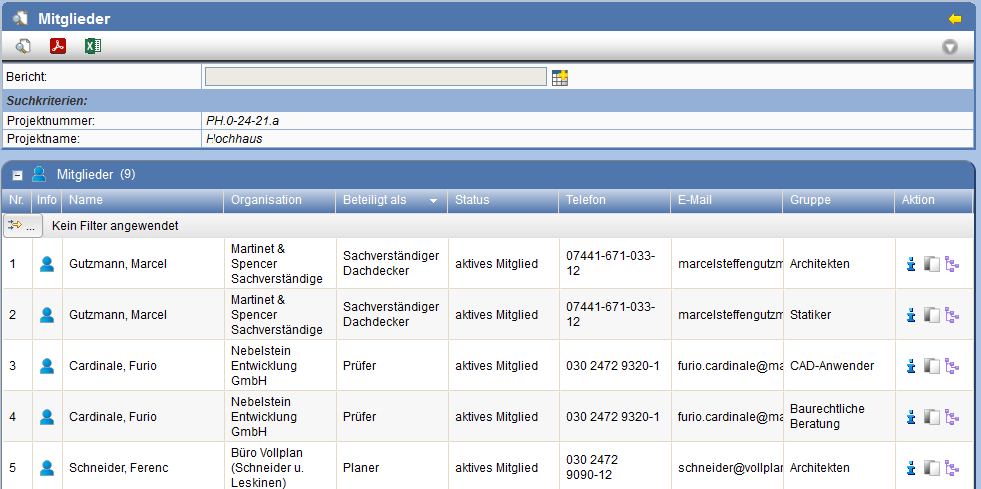
The list can be sorted as desired and exported as a PDF or Excel file. Individual members can be copied to the clipboard, expanded, or their properties page called directly.
Add Members
Copy the persons to be added as members in the Organization Tree
by clicking the symbol in the action bar to the clipboard.
Switch to the Project Structure
by clicking the
symbol in the menu bar and select the project group into which the persons
should be inserted as members.

Click the -Symbol in
the action bar. The people you previously copied to the clipboard are displayed and can be
selected for insertion.
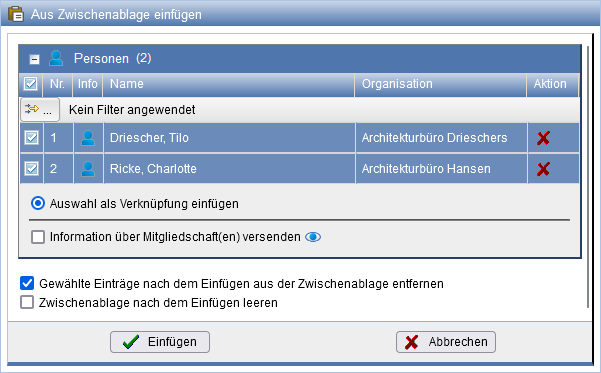
Alternatively to inserting people, an entire organization can also be inserted into the clipboard and its members subsequently added. Please read the description for the process Creating a group by copying an organization.
If a template is configured for this purpose, you will be offered after inserting new project members to send them an email informing them of their new membership. This can also be done retrospectively, as explained in the following section.
Member Properties
To display the properties page of a member, select it in the group tree.
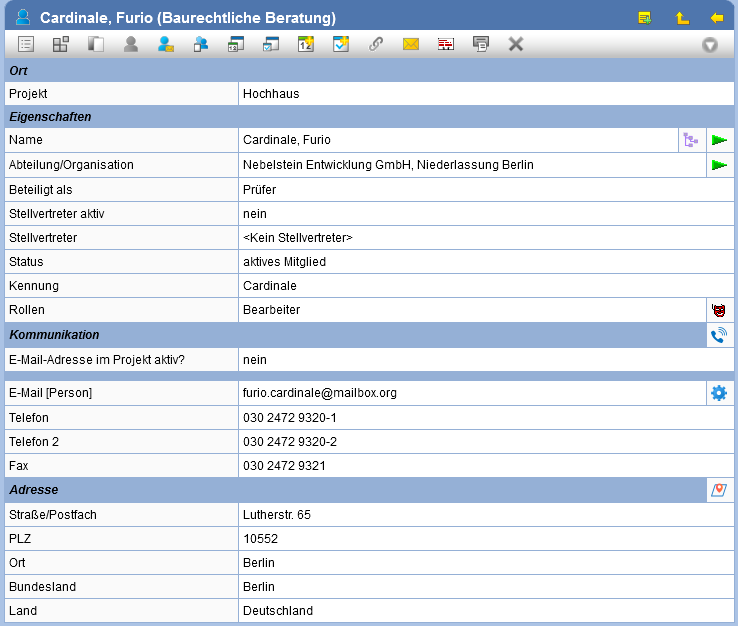
In addition to the Standard Actions the following actions are available for members:
| Sets the member to the status former or reverts this. | |
| Allows sending an info email about the project membership retrospectively (requires a configured email template). | |
| Lists all groups in which the member is involved. | |
| Shows all open appointments of the member. | |
| Shows all open tasks of the member. | |
| Shows all objects with which the member is linked. | |
| Creates a business card (vcf file). | |
| Change the communication data of the member. | |
| Sets the Roles for the member. |
To change the properties, press the action in the action bar .
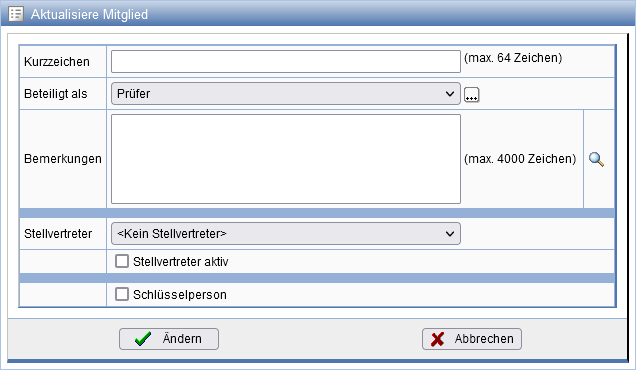
Here you can change the basic properties of the member. Name, communication data and address are taken over from the Person to which the membership belongs, respectively.
In the field Deputy a person from the same organization can be selected who should take over the tasks of the person, e.g.
in the event of leave. To do this, set the option Substitute
active. As long as this option is enabled, the substituted member will be displayed with the symbol  in this state. In this state, the substitute additionally receives all project e-mails sent to this member.
If you set a member as Key Person, they will be displayed on the Project Properties page and the associated Overview Sheet to indicate their special status. To do so, also specify the additional attribute Competence to describe the type of competence (e.g., Object Manager). This option can only be set by members of the role Project Leader or Project Manager .

You can also adjust the properties for multiple members simultaneously.
To do this, select the desired members via multi-selection in a table and start the action .
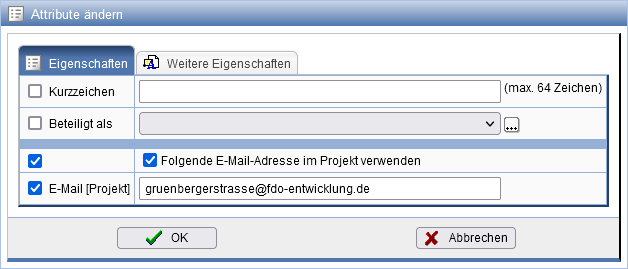
Change Member E-mail Address
If a member should be reachable within a project under a different e-mail address, specify it in the communication data.
Click on the icon in
the Member Properties page.
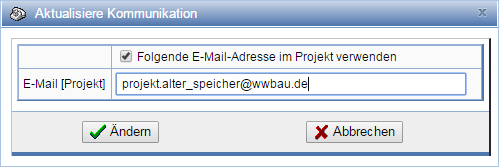
If subscriptions exist for the old e-mail address in the project, you will subsequently receive an overview via this and can adjust them there.
Set Members to Former
If a person's membership in a project has ended, it can be set to the status former .
To do this, select the corresponding member in the project tree and press the symbol
in the toolbar .
A dialog opens in which you have the choice to set the member to former or replace them simultaneously with another member.
If you replace selected, memberships are defined for all groups of the member to be replaced. The new member is also assigned to all distributors and other project templates for the old member. The new project member takes over the appointments and tasks of the old member.
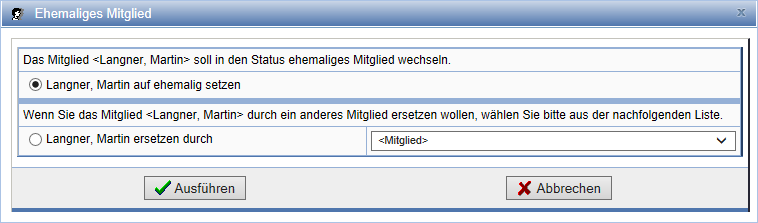
By pressing in the
toolbar of the deactivated member, you can reactivate it.
Set Member Roles
Members have specific roles in projects, which are coupled with defined rights. By default, members receive the role Editor and can thereby for example upload or download documents to PlanTeam SPACE. For further information on roles, please visit the page Manage Roles .
Setting roles is only possible for the Project Manager and the Project Administrator .
To assign roles to a member, select the member in the project tree to open its
properties page. Then select the icon next to the field Roles.
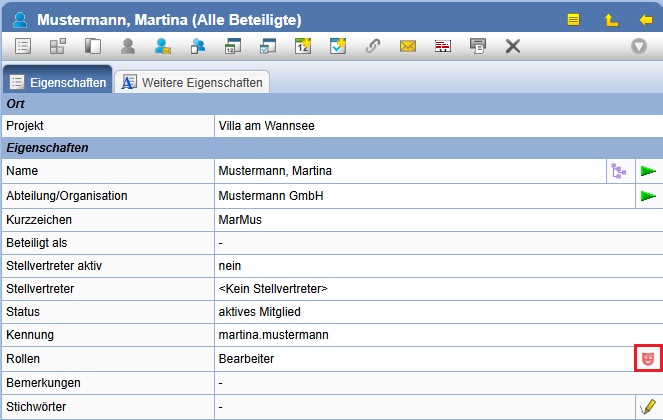
A dialog for setting roles for the member will now open. Check the box for each desired role. For further information about the role,
use the icon in the
corresponding row.
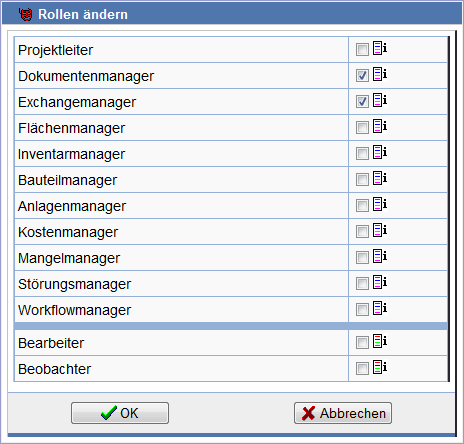
Finalize your settings by pressing OK . The member will now have access to the selected roles after the next login.

Delete Members
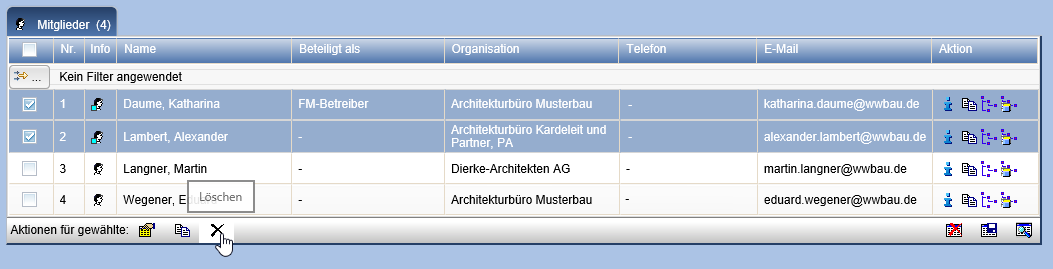
Using the icon , you can delete a person's membership in a project. You can choose whether to remove only the currently displayed membership in their group or all memberships in all groups. When deleting the membership in the group All
Participants , any existing memberships of the same person in other groups are also deleted.
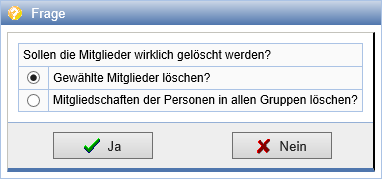
Via the properties page of a group, you also have the option to delete multiple members simultaneously. To do this, select the members to be deleted using multi-selection and press the
button .