Table Representations
Topics
General
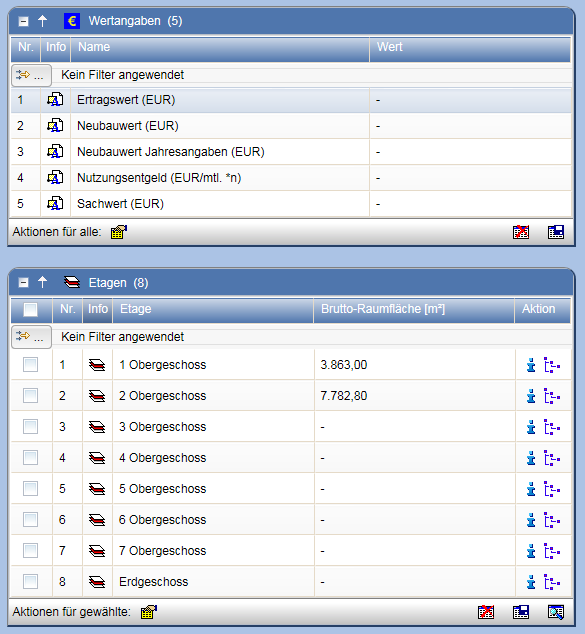
Tables are used to display one or more objects on property pages. Each object occupies exactly one numbered row in this case. The property page for the displayed object can be opened via its symbol.
By setting the checkmark in the first column, objects can be marked individually (or completely in the column header) to be taken into account when performing actions. The possible actions are displayed in the table footer. In certain lists, individual actions are also offered in an additional column on the far right.
The tables automatically adapt to the available space, so that it is optimally utilized even after changing the window size.

Change and Save Display
Selected values for the objects are displayed in the columns. By clicking in the header of each column, the rows can be sorted accordingly. By repeated clicking, the order is switched between ascending and descending.
You can adjust the column width according to your wishes. To do this, move the mouse pointer to the column boundary between two columns in the table header and drag it to the desired width while holding down the mouse button.
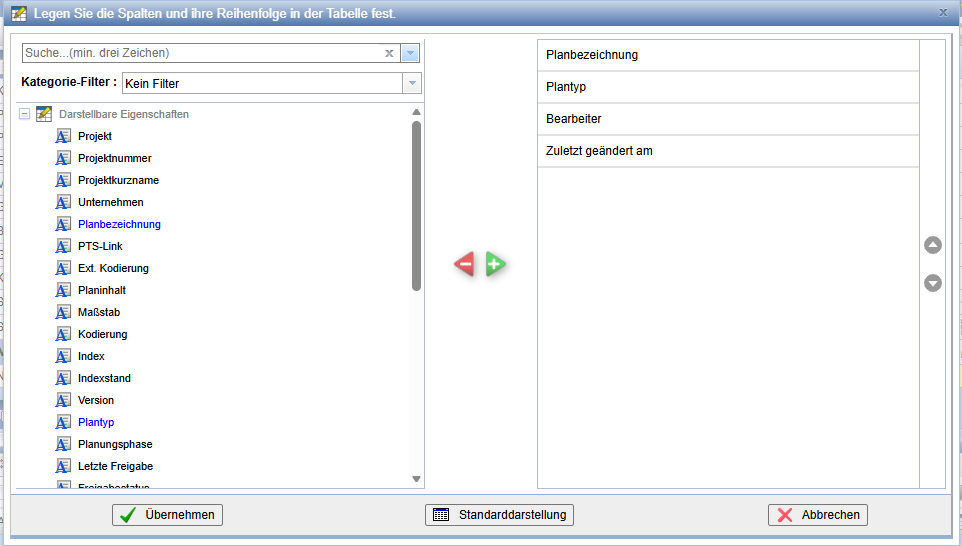
In addition, you can use the action Change Column Display Table to individually adjust the order, number, and types of columns. In the dialog, attributes can also be searched and filtered via the Category Filter.
To reset the settings back to normal again, you can simply click on Standard Display.
To permanently save the layout settings made for sorting and column width, press the icon in the table footer .
With the
action
the saved settings are reset again.
For split tables, such as document types, the saved layout is transferred to all associated tables.
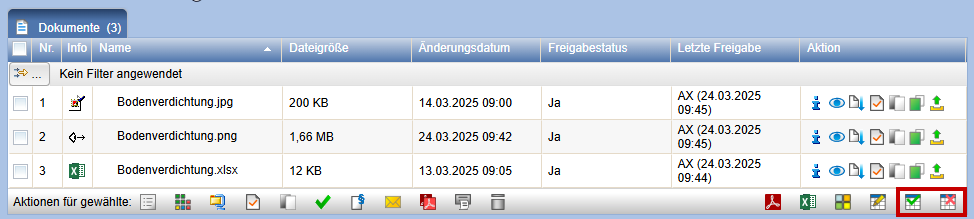
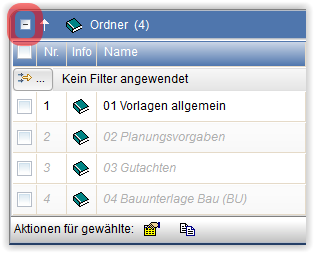
Via the actions and
next to the
list header, their content can be shown or hidden.
This action is only available if you have in the personal settings the option Table
in tabs display disabled.
Display of planning codes
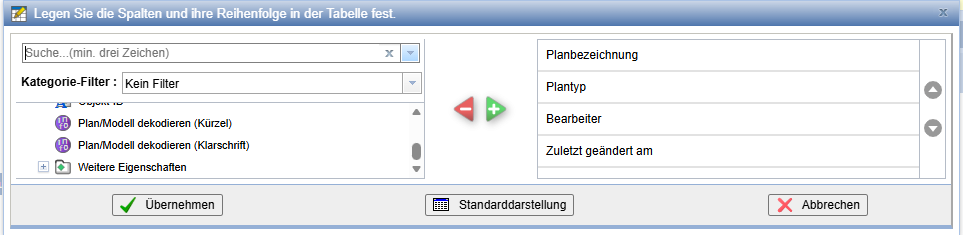
To display plans decoded in a table, proceed analogously to the entry Change and save display and select in the dialog the option Decode plan (abbreviation) or/and Decode plan (plain text). The groups of the planning code are displayed in individual columns.
Display of tables
In the personal settings the display of tables in PlanTeam-SPACE can be determined. You have the choice between the classic table display and the display in tabs.
With the classic display all tables belonging to the object are listed one below the other.
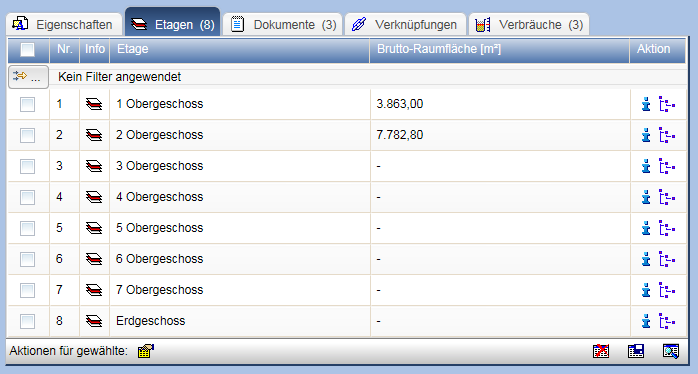
With the display in tabs the tables are displayed side by side as tabs. With this setting you have a better overview of the tables belonging to the object and avoid scrolling up and down in the browser window.
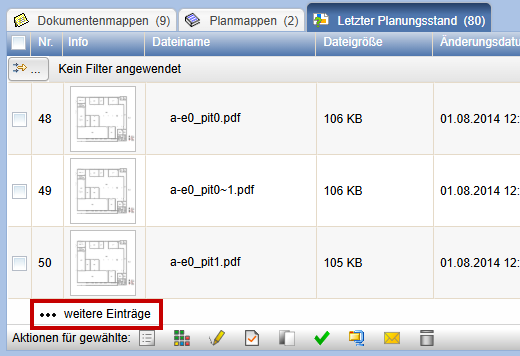
Generally, not all elements of a table are displayed directly. In the Personal Settings you can specify how many table entries are displayed. Top right in the table, you will be informed about the currently displayed and total objects contained in the table and have the option to load all objects of the table with a single click.

At the bottom of the table, all entries can also be loaded, or alternatively loaded successively.
Context Menu and Markings
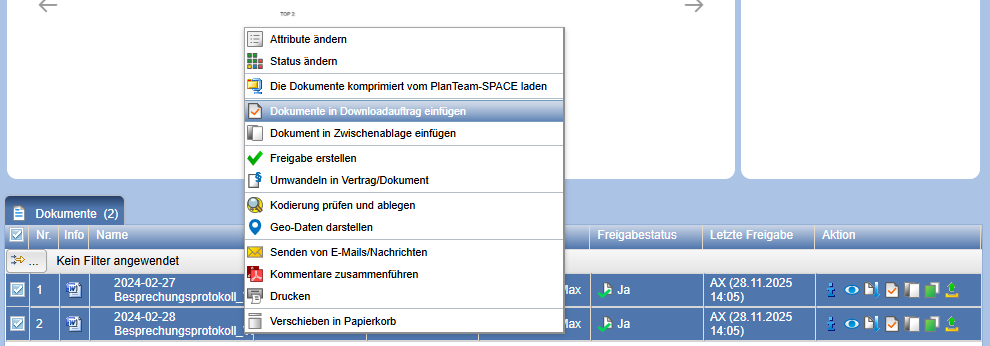
By right-clicking at any location in the line of an object, the context menu can be called up. The context menu includes all actions offered in the table.
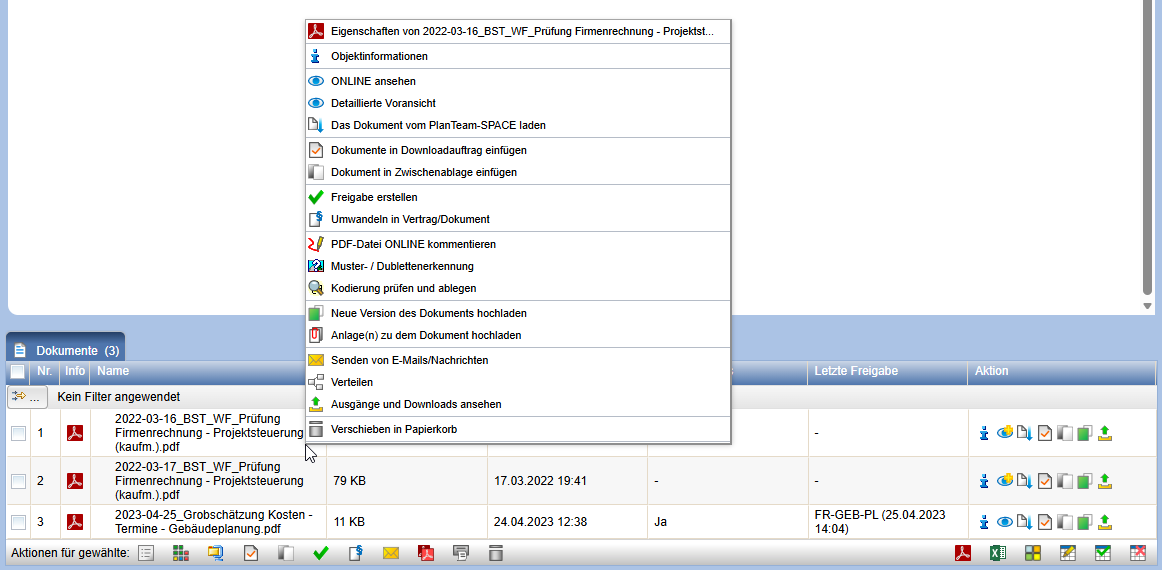
By left-clicking in the text area of a line of an object, the line is highlighted in color.
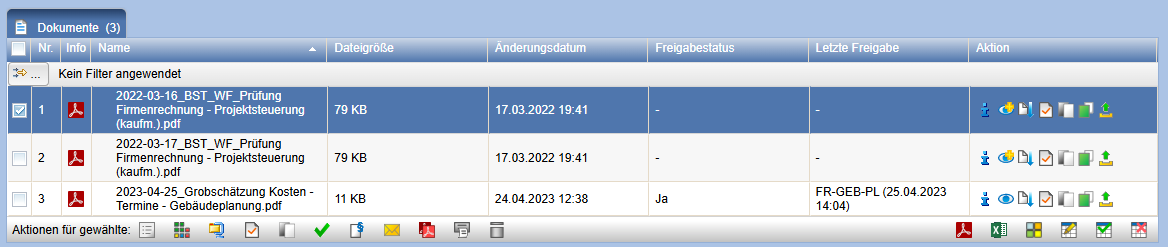
When selecting multiple table entries via the checkboxes, the context menu includes all actions for the marked objects. The context menu is called up by right-clicking at any location in the line of a marked object.
Filter Settings
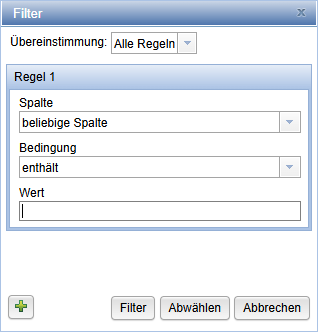
To filter objects within a table, select the action .
In the subsequently appearing filter dialog, rules can be defined.
Last Planning Status
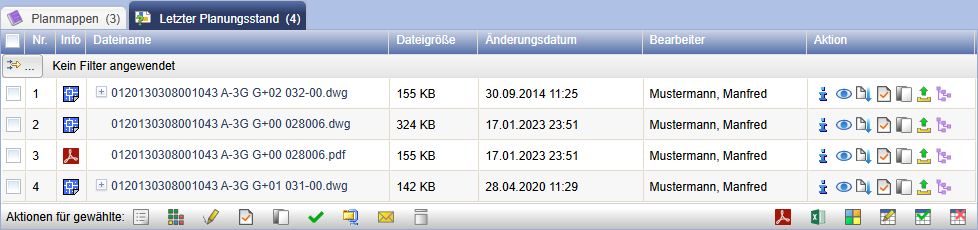
For some objects containing plans, the table Last Planning Status is displayed. This table lists the CAD documents of the last index of each individual plan folder located in the selected object.
In the table view, the table Last Planning Status is always at the very bottom and is collapsed by default.

As a tab, the table Last Planning Status is always displayed at the very back.
Attachments, Appendices, and Addenda
In tables containing parent documents, attachments, appendices, and addenda have a special representation. For example, if an email with attachments is imported into the documentation, these are displayed below the main document. This means that a structure with
under the PDF file of the email can be expanded.
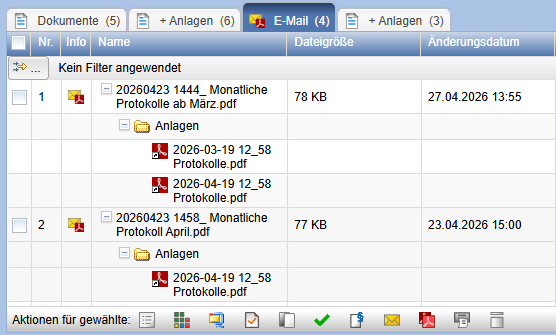
Even if subordinate documents are moved to another position, they are still displayed here. Actions are also available for subordinate documents via the context menu.