Message Center
Topics
- General
- Adapt Display
- Incoming E-mails and Internal Messages
- Outgoing Messages
- Labeling and Tracking
- Subscriptions
- Personal & Public Folders
- Import of E-mails, Distributions, and their Attachments into the Documentation
- Import of Appointments/Tasks into the Calendar
- Entry of External Messages into PlanTeam-SPACE
General
The Message Center allows you a comfortable overview and management of all communication processes. You can trace all sent messages and E-mails as well as download and distribution processes at this location.
You can most easily open the Message Center via the Navigation Bar. If the Project View is displayed, first mark the project for which the Message Center should be opened and then select the action.
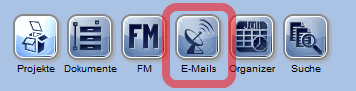
Alternatively, the Message Center can be opened by selecting the point Open... / ...of the Message Center or Switch... / ...to the Message Center in the navigation tree.
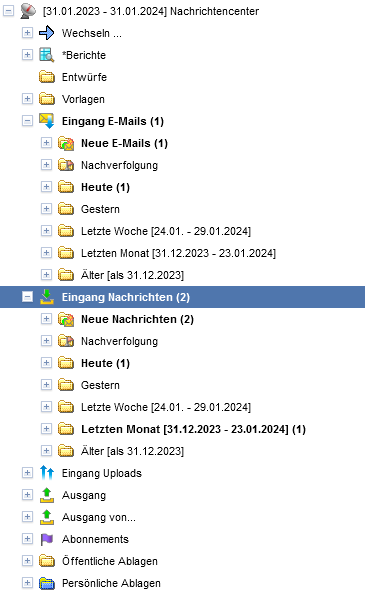
The communication processes relevant to you are displayed in tree form in the Message Center. Incoming and outgoing items are displayed separately in their own nodes. Additionally, you receive an overview of your own uploads.
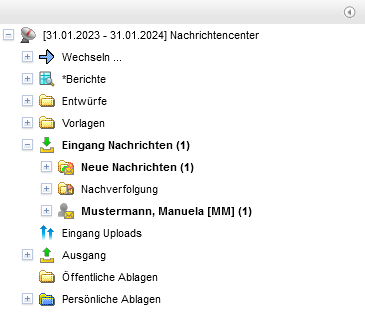
The outgoing communication processes are displayed separately according to (internal) messages, E-mails, downloads, and distributions. A click on these nodes reveals all contained processes in the tree and displays the content tabularly on the right side.
| Note: | Please note that already read messages are only displayed if they fall within the preset time period. Adjust this if necessary, as described in the following section. |
Adapt Display
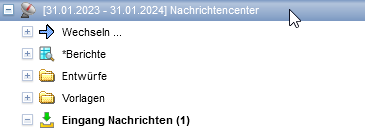
All communication processes are displayed only within a selected time period. To change this period, press on the topmost node of the tree.
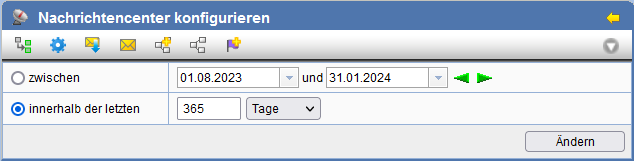
Now adjust the time period on the right side. Alternatively to entering a specific date, a period retroactive from the current date can also be set. Enter here in the field within the last the number of days, weeks or months.
With the action you go directly
to an overview of your own e-mails on the server.
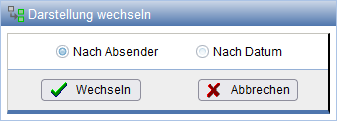
In this view, you can switch the display for the message and e-mail inbox via the action in the action bar. In the sender view, messages are grouped according to the sender. In the date view, messages are grouped by periods starting from the current date (today, yesterday, last week, etc.).
Incoming e-mails and internal messages
When receiving e-mails, an attempt is automatically made to assign the sender and the recipients to specific members. By default, only these members can read a received e-mail. In addition, members with the role Communication Manager (writing), as well as Project Manager (reading) have access to all e-mails. However, the read permission can be configured so that members can also read e-mails even if they are not involved themselves. These e-mails then appear in the node Other E-Mails.
In the node E-Mail Inbox and Message Inbox you will be notified of newly arrived, previously unread, e-mails and messages by bold text and the corresponding number.
To read a message, select it in the tree. On the right side, the properties of the e-mail or the message with any attachments are now displayed. At the same time the status is set to Read and the icon color changes from green to blue.
It is possible to mark multiple e-mails as read at once. To do this, open the context menu of a node in the tree with the right mouse button and select the item mark as read.
Each recipient sets an e-mail as 'read' only for themselves. If further members (i.e. with the role Project Manager or Communication Manager, or due to the configuration all members) can read an e-mail, the mail is set to 'read' for everyone in this group upon the first read.
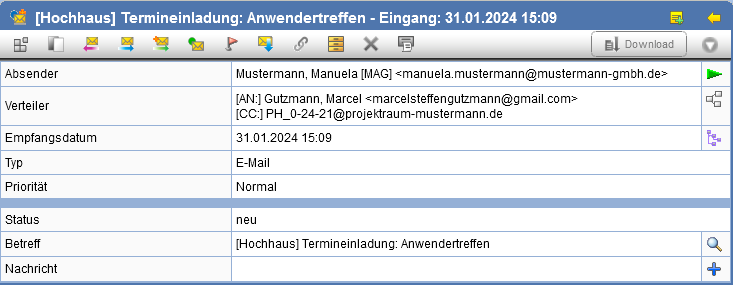
Open the message text with the action next to the field Message
or via the action
next to the field Subject.
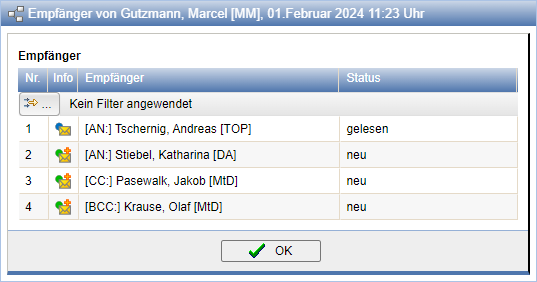
Via the action multiple recipients,
if available, are displayed in a dialog.
The following actions are possible via the action bar :
| Displays registration information. | |
| Adds the e-mail / message to the clipboard, so that it can be stored as a copy in the documentation, for example. | |
| Create a reply to the sender, or all persons involved in the message. | |
| Forward selected message. This e-mail can be forwarded to another recipient. Subject and attachment remain intact. | |
| Edit selected message as new. The contents of the message are transferred to the message to be created anew. | |
| Mark message as unread. If a
message is set to unread, the icon changes to |
|
| Activate message tracking. If activated, the icon changes
to |
|
| Display e-mail thread. | |
 |
Displays all links created for this e-mail. |
| Transfer e-mail / message to documentation. | |
| Deletes e-mail / message. | |
| Creates a PDF document with the content of the message. This can now be printed, for example. |
E-mails can be copied as PDF files into a document folder.
To do this, copy the e-mail with the action to the clipboard. Now switch to the documentation and select a document folder
for storage. Perform the action here
to insert from the clipboard. The e-mail will be stored as a PDF document;
the name corresponds to the subject line.
In addition to display in the message center, the incoming journals can also be accessed via the search function displayed.
Actions in tables
The following actions are possible via multi-selection in tables:
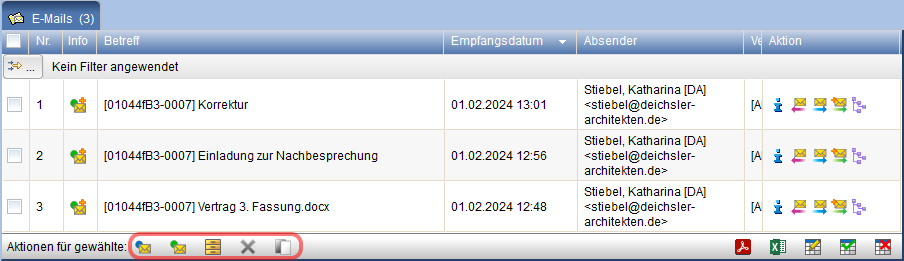
| Set e-mails / messages to read. | |
| Mark e-mails / messages as unread. Sets the
e-mails / messages to the unread status so that they immediately
stand out as unread. If an e-mail / message is set to
unread, the icon changes to |
|
| Import emails/messages into documentation. | |
| Deletes emails/messages. | |
| Adds emails/messages to the clipboard to store them, for example, as copies in the documentation. |
Message Outgoing
You can keep an overview of your communication activities in the Message Outgoing section. Message Outgoings are grouped and displayed as sent messages, emails, downloads, and distributions. Note here as well that only communication activities within the selected period are displayed.
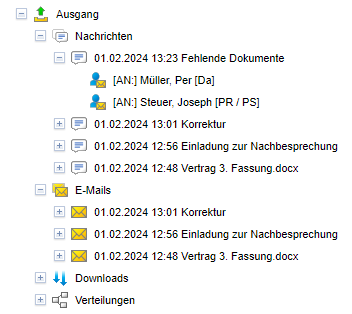
By selecting a message in the tree, details including objects linked as attachments are displayed on the right side.
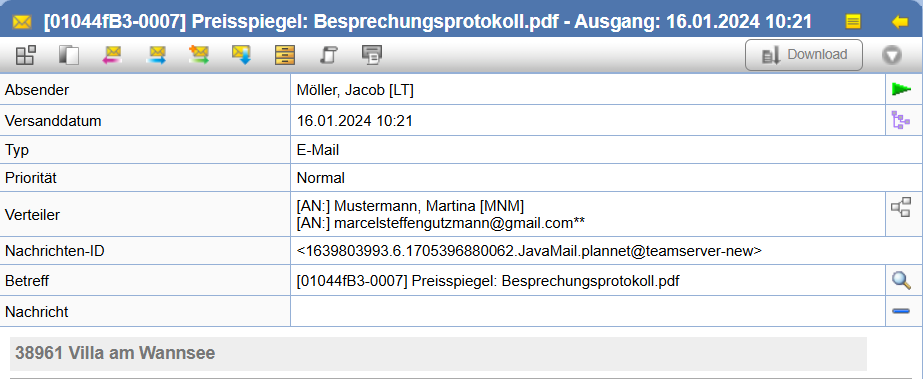
The possible actions for the various outgoing journals differ according to their type. Below you will find explanations of individual actions:
| Opens a dialog with the registration data of the object. | |
| Adds the outgoing journal to the clipboard. After switching to the documentation, this can be inserted, for example, as a PDF into a document folder. | |
| Create a reply to the sender or all persons involved in the message. | |
| Forward the message to new recipients. | |
| Edit the selected message as new. | |
| Import emails/messages into documentation. | Displays the delivery log. |
| Generates a PDF document with the content and additional information about the message. This document can then be printed. | |
| Opens a dialog with the list of recipients. |
In addition to display in the Message Center, incoming and outgoing journals can also be accessed via the Search function displayed.
In the tree view in the area Outgoing
all recipients under the individual communication activities are listed additionally.
This way you can get detailed information about which project members received
which information when.
Analogous to the incoming journal, you can access the properties of a message in the outgoing journal by clicking in the message tree.
Labeling and Tracking
Incoming messages can be specially marked to highlight them.
To mark messages by color, open the context menu with the right mouse button and select below Labelthe point at which the message is to be marked.
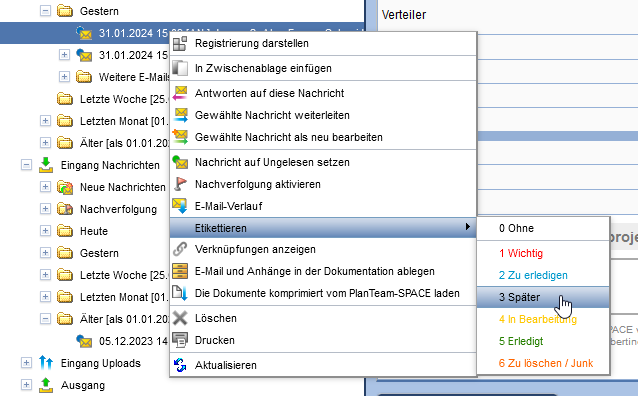
After marking, the message is displayed in the tree and in the table in the corresponding color.

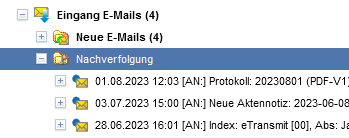
To track a message that particularly interests you, mark it in the Inbox and click in the Action bar onTracking
enable. The message is now displayed in the Follow-up folder so that it can be accessed more quickly.
Subscriptions
To the alreadycreated
subscriptionsto display, click the action in the Notification Center.

Outside a project, you receive an overview of all subscriptions with the action(top left in the menu). Here all subscriptions are displayed, optionally sorted by their respective projects.
Active subscriptions are marked with the symbolmarked, stopped subscriptions instead with
.
To change the properties of a subscription, click on the symbol of a subscription in the list.
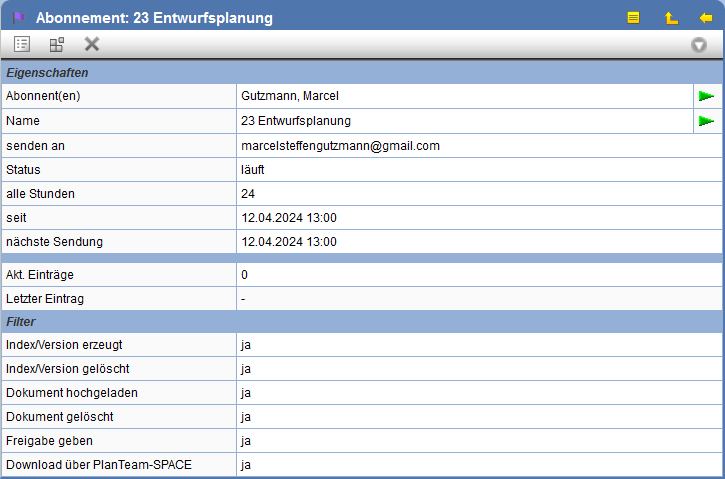
Here you can subscribe via the actiondelete,
or via the action
the properties
change.
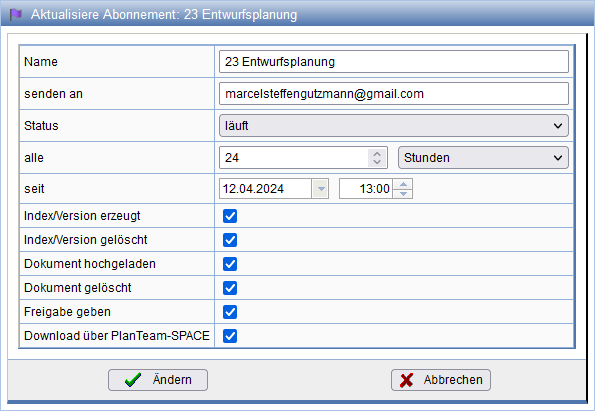
Via the setting in the fieldStatuscan you disable the subscription (settingstopped) or re-enable (Settingruns).
If desired, change the name, email address, notification interval, and actions to be logged.
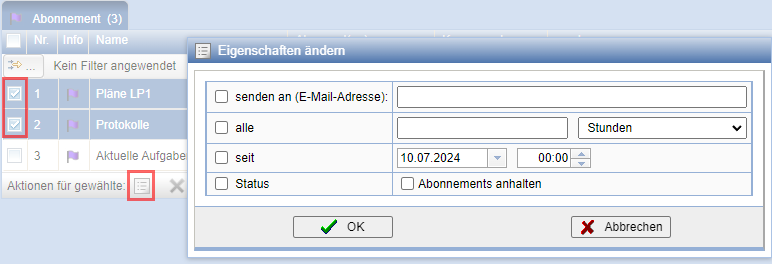
To set the properties of multiple subscriptions at once, select them in the list and choose the action.
Personal & Public Folders
In the Message Center tree, you can customize the folder Personal Storage / Messages according to your preferences. The messages stored in personal storage will be displayed independently of the set time window displayed.
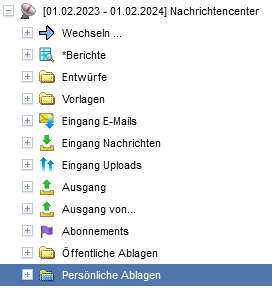
To add messages or emails to your storage, create a folder structure. You can add any number of subfolders.
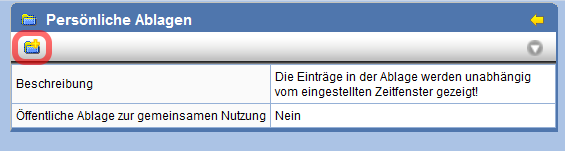
The following actions are available for selection in the properties of the subfolder:
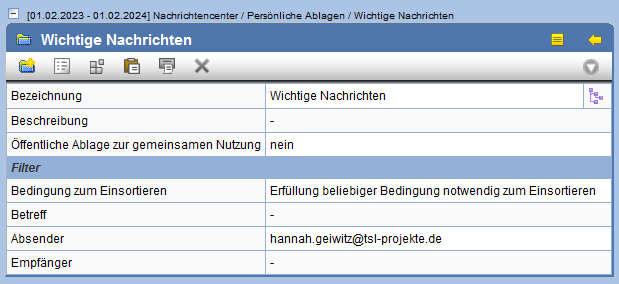
| Create a new subfolder. Any number of subfolders can be created. | |
| Opens the dialog to edit the properties and set filters. | |
| Opens a dialog with the registration data of the object. | |
| Adds messages from the clipboard. | |
| Opens the print form of the subfolder. | |
| Deletes the subfolder. |
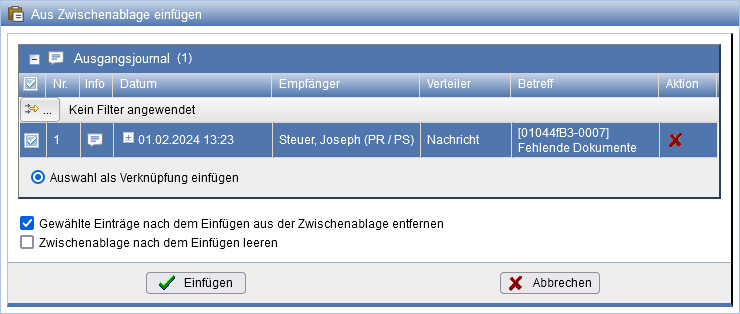
To add messages to your personal storage, copy the message from any journal to the
clipboard. Then select the target folder in the
personal storage. There, you can insert the message using the
action into
the folder. Select the messages to be copied and confirm your selection with Insert.
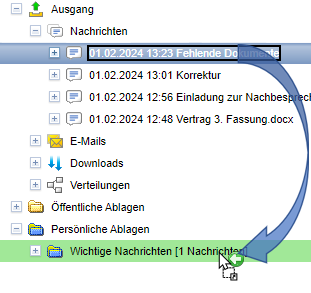
Messages or emails can also be added via Drag & Drop into the desired target folder in personal storage.
Messages can also be automatically added to personal storage via filters. The filter rules are defined per folder via the
action Change Properties
.
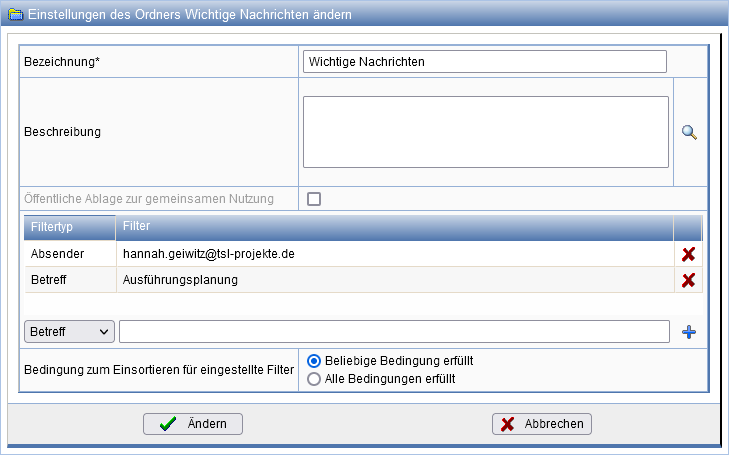
One or more filters can be defined based on subject (component), sender, or
recipient, and then added via
or deleted via
. Additionally, it is specified whether only one of the filters must match for sorting or if all must apply.
| Note: | The messages are merely linked to personal storage. The originals remain in the original journals. |
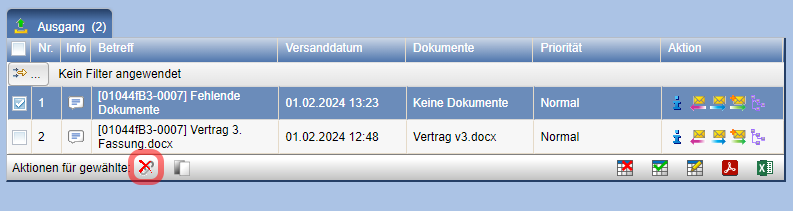
To delete messages from personal storage,
select the message in the table of the subfolder of
personal storage, and choose the action .
Public Storage
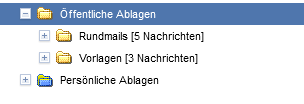
The folder Public Folders behaves in the same way, with the difference that emails stored here are visible to all members of the project. Also, messages stored in the public folder are displayed, regardless of the configured time window, for all members independently.independent of the set time window.
The administration of the public folder, including creating subfolders and inserting or removing emails as links, is exclusively reserved for members with the role Communication Manager.
Importing emails and distributions along with their attachments into the documentation
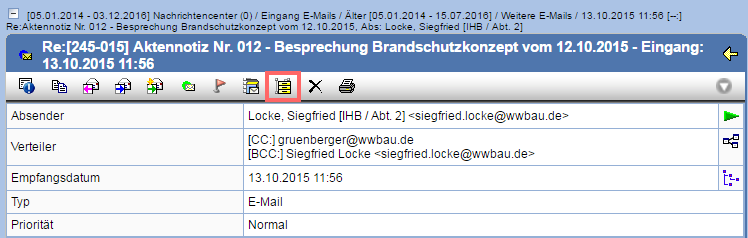
Emails and distributions along with their file attachments can be stored directly in the documentation. To do this, select the action Store Email and Attachments in Documentation in the action bar of the desired email or distribution.
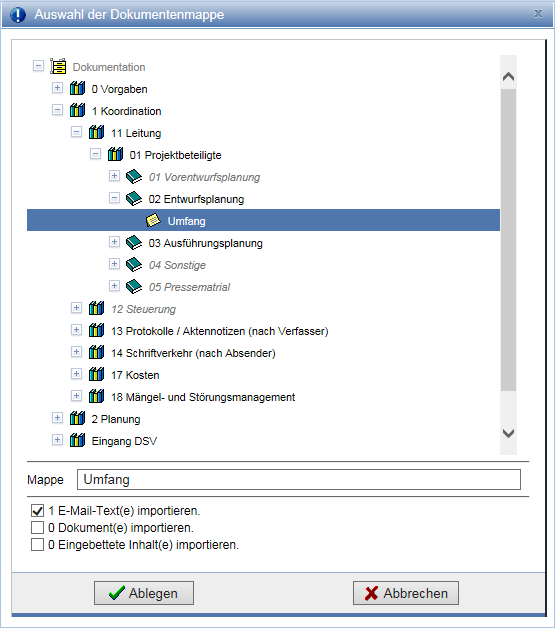
Specify the target folder in the documentation and determine whether the email text, embedded content, and/or documents should be imported.
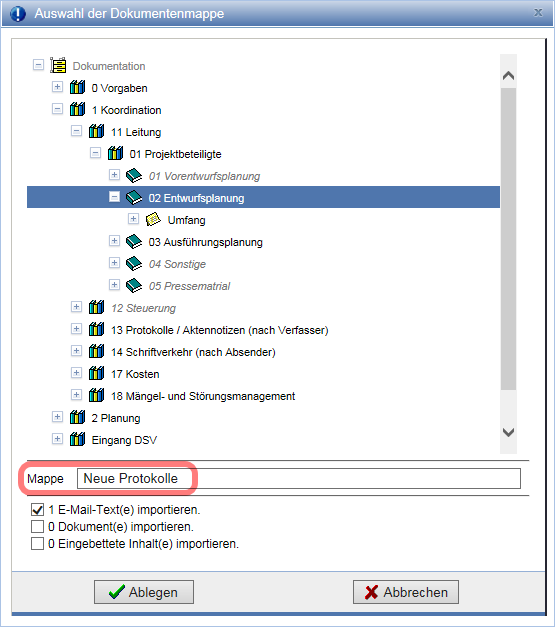
To create a new folder, mark the folder in the documentation where the new folder should be created. Then, enter the name of the new folder in the text field Folder.
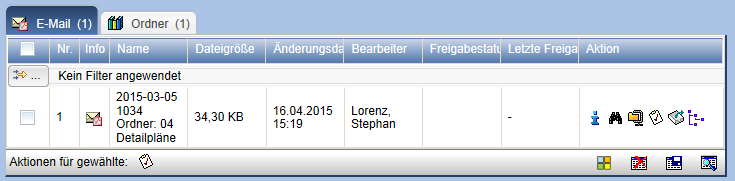
The link to the documentation is displayed in the table of the email in the incoming journal.
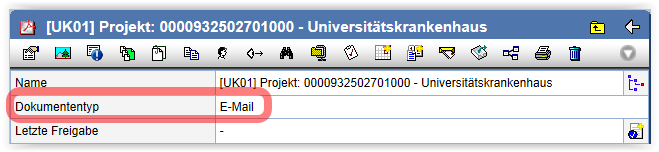
Imported emails and distributions are always saved in PDF format. Additionally, they are automatically assigned the document type Email .
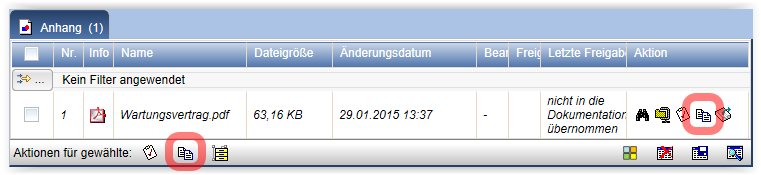
With the action
in the table Attachment, copy the desired documents
to the clipboard. After switching to the documentation, you can
store the documents in any folder.
Automatic import of an email attachment
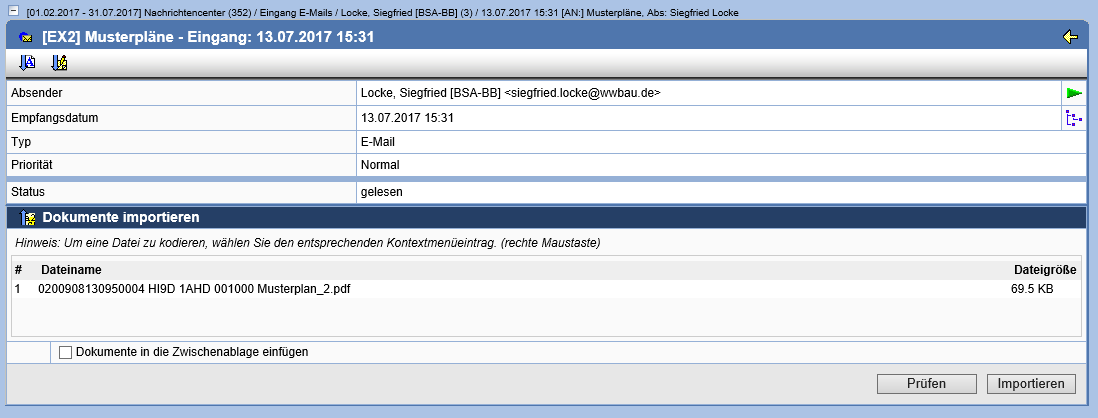
Attachments can also be imported into the documentation using automatic import, provided that a code has been defined for them. Via the button Automatic Import according to Configuration you access the corresponding form.
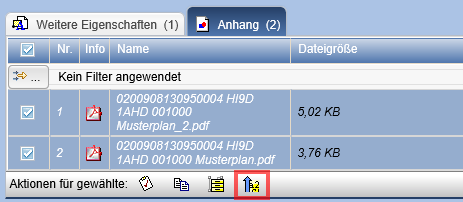
As with the automatic import of documentation you have the opportunity here to adjust and check the encoding of the files before the import. Subsequently, you can import the files using the provided action.
| Note: | Please note that emails and distributions along with their attachments can be imported into the documentation only once. If an email or distribution has already been imported into the documentation, the action is no longer available. |
Importing appointments/tasks into the Calendar
If emails contain appointments or tasks in ICS format as attachments, you will see them in the table Attachment on the properties page of the email.
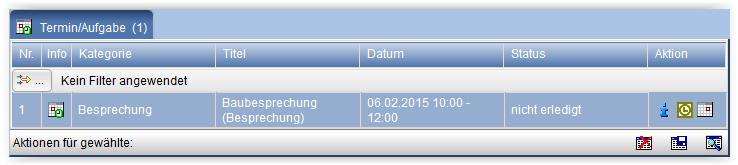
The following actions are available in the column Action :
 |
Opens the information dialog. |
 |
Saves the .ics file to your file system. |
 |
The appointment/task is created in PlanTeam-SPACE. |
Importing external messages into the PlanTeam-SPACE
Emails and messages from external programs, such as Microsoft Outlook or Mozilla Thunderbird, can be imported into PlanTeam-SPACE via the Upload function of the documentation .