Projects
Topics
General
Projects created in PlanTeam-SPACE represent real-world projects. They serve as a means to store and manage documents and plans, building structures, technical installations, components, inventory, costs and consumption, defects and incidents, tasks and deadlines, as well as communication among personnel assigned to the project.
Project Tree
After logging in, the Project Tree is displayed by default. If another view (e.g., Documentation) is open, you can return via the Navigation Bar or via the action in the Main Actions Bar to the Project Tree.
The Project Tree displays all projects of which you are a member. An exception applies to persons with the Role Project Manager, who see all projects regardless of membership status.
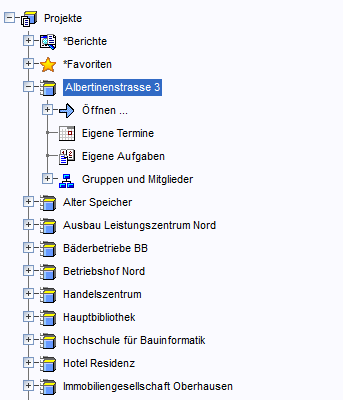
Via the area Open... you access the different work areas of the projects. A description of the individual work areas and their functionalities can be found under Work Areas.
Below "Groups and Members" the already created Groups and those contained therein are listed.Membersof individual projects displayed.
Adjust Project Tree Display
Project display can be structured. This can lead to faster finding of projects and also reduced loading times when there are very many projects
Select the root node in the tree and choose one of the configured views. The standard view does not use any structuring.
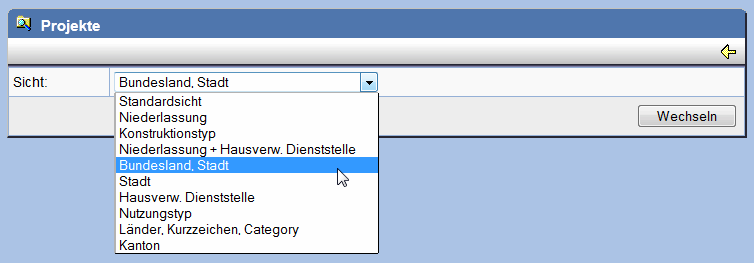
By clicking on Switch the new display is adopted. The projects are now displayed accordingly structured.
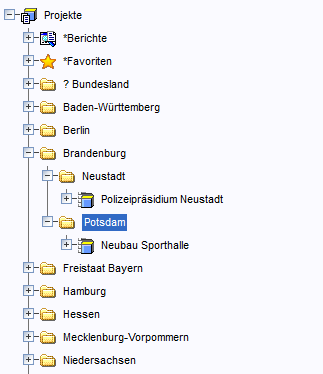
Favorites
Projects that you access frequently can be marked as favorites. Press the action in the action bar of the desired project . The project is now additionally displayed in the node Favorites
displayed.
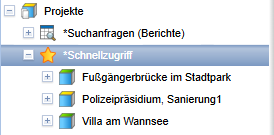
To remove a project from the favorites list, press the action in the action bar.
Properties
To view the properties of a project and start actions, select the project in the project tree. On the right side, the project properties page with all relevant data is now displayed.
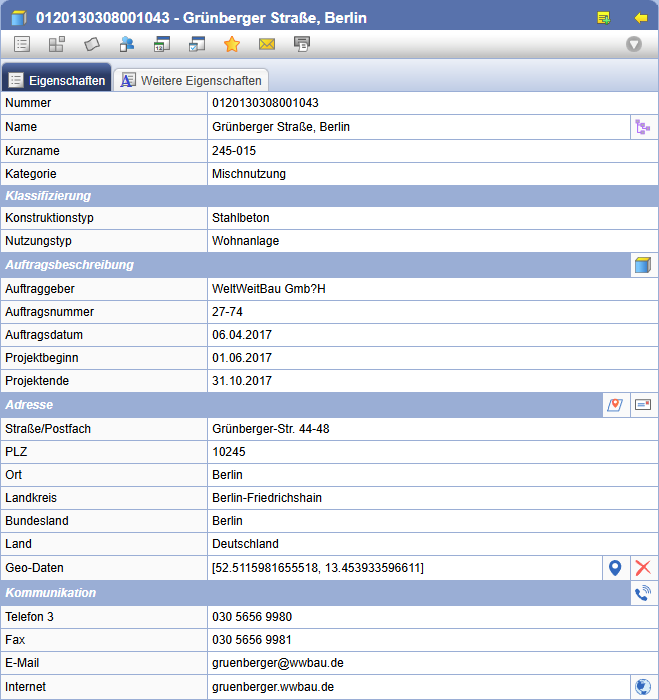
The following actions are available:
| Basic properties of the object edit. | |
| View Object Registration | |
| Shows the Area specifications or can be adjusted here if appropriate rights exist. | |
| Opens the documentation of the project. | |
| Opens the FM View of the project. | |
| Provides the list of parties involved in the projectMembers. | |
| Shows all open appointments for the project. This action is available by default only to members of the roles Project Manager and Project Lead, but can be configured so that it is possible for all members. | |
| Shows all open tasks for the project. This action is available by default only to members of the roles Project Manager and Project Lead, but can be configured so that it is possible for all members. | |
 |
Creates a new appointment for the project. |
 |
Creates a new task for the project. |
| Adds the project to your favorites. | |
| Sends a e-mail or message to selected recipients. The subject line is pre-filled with the number and name of the project. | |
| Creates a BFR report. | |
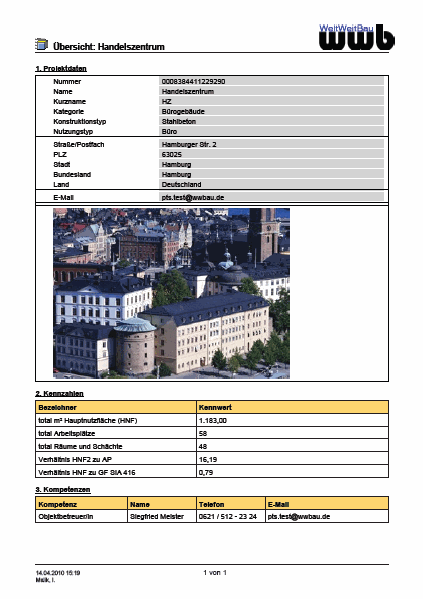
| Print the project overview. | |
| Navigates to the project in the project tree. This action is useful if the properties page was accessed, for example, via search. | |
| Sets keywords with which the project can be found more efficiently during a search. | |
| Opens a form to change the order description. | |
| Set the project address. | |
| Set the communication data. | |
| If a website has been assigned to the project, it can be opened here. |
Edit Properties
To edit the properties of a project, press the Action on the Project Properties page
. This
Action is available only to members who have the Role
as Project Leader or Project Manager.
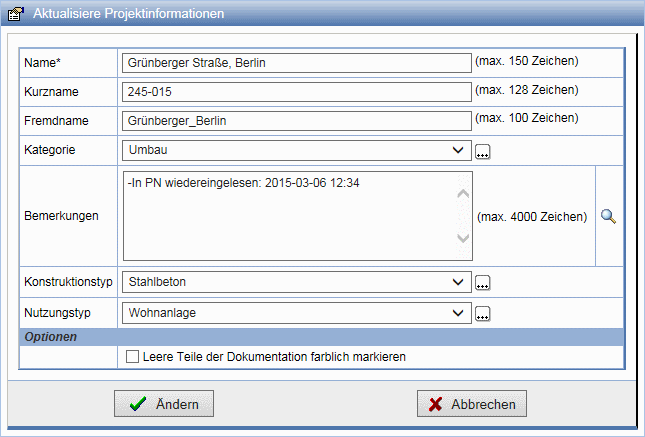
Adjust the properties and apply the settings with Change.
By setting the option Highlight empty sections of documentation in color structures in the documentation that do not contain documents will be displayed in gray and italics.
| Note: | Projects cannot be created or deleted via the PlanTeam SPACE! |
Print / Overview Sheet
Printing is started via the action
.
The default output of a PDF document can be expanded by an overview dialog through appropriate configuration of the print function, in which all essential documents are displayed.
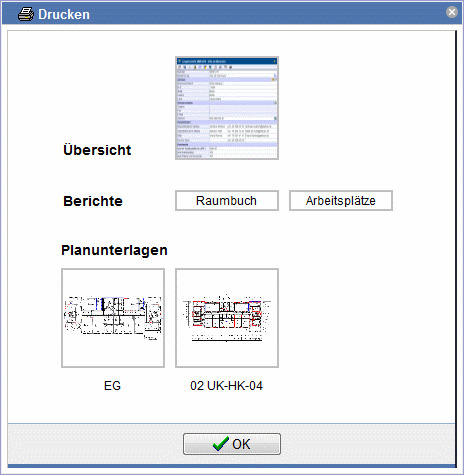
By clicking, the desired documents can be printed. If you want to print the overview sheet, for example, this will be displayed as a PDF document and can be printed via the browser's print function.