Managing tasks
Topics
Introduction
You can create, edit and delete tasks for project members, groups or projects as well as for documents and indices. You can also create "empty" tasks and assign persons to them later on.
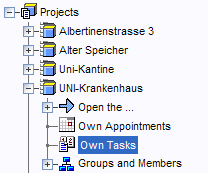
Open your personal tasks overview with a click onto the entry My tasks in the project summary.
On the right, the task overview is displayed:
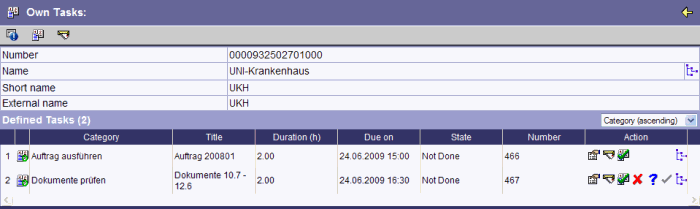
It shows a task overview structured into Tasks scheduled by me, My tasks (to confirm) and My tasks: from workflow.
Creating tasks
To create a new task, click - in the
action bar of the task overview. A form opens where you can enter the data for the new task.
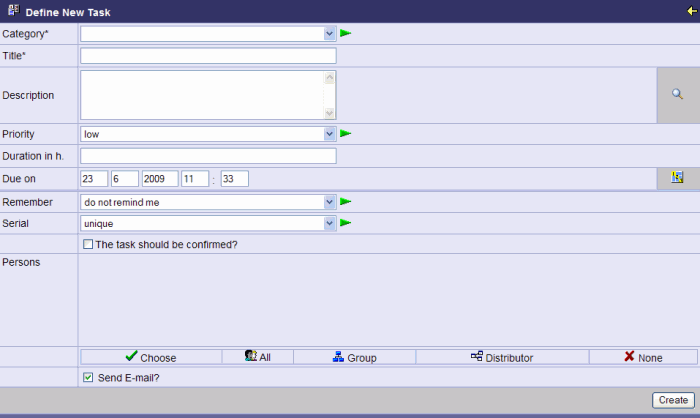
Enter the details for the new task. If you mark the checkbox Should the task be confirmed?, the task recipient recieves several options with which the task can be confirmed, canceled or accepted under reservation. See chapter Confirming tasks for more details.
Choose between Send e-mail to participants, Add documents from clipboard subsequently and Without documents or e-mail. If you select Send e-mail to participants, you can inform the participants about the task via e-mail after it has been created.
If you select Add documents from clipboard subsequently, an additional action is available in the clipboard. It links documents in the clipboard to the recently created task. See section Tasks with documents for further information.
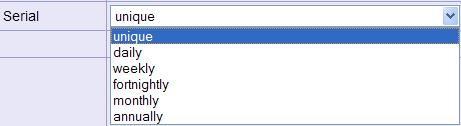
Recurring tasks
A recurring task is a task that recurs periodically. It is created once and is scheduled to recur in certain intervals (daily, weekly, yearly).
In the field Interval, you can determine the interval in which the task should recur. If you schedule a task for October 7, 10:00 am, for example, a weekly interval will automatically schedule the next task for October 14, 10:00 am.
As soon as a recurring task is done or is automatically set to done, the next task is created according to the interval.
Group tasks
Group tasks are tasks assigned to all members of a group. No member of the group can be removed from the recipient list after the task has been assigned. Tasks can also be assigned to empty groups. Every person who is added to the group as a member automatically receives the task, independent of whether or not the group already had members.
Create a group task by going to the group's properties page and clicking on in the action bar.
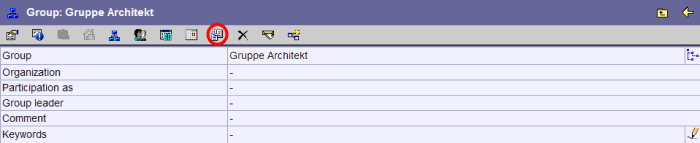
A task form opens up, where the members of the group are already preset in the field Persons.

To assign the task, click Create.
| Note: | Once the task is created, no person (group member) can be removed from the task. |
Task reminders
When assigning a task, you can define how long before its start time a reminder should be sent.
Every participant as well as the creator of the task can adjust the reminder time individually on the properties page of the task.
The reminder time is selected during creation of the task or later on on its properties page in the field Reminder. The reminder occurs via e-mail.
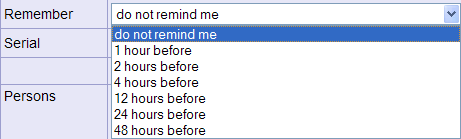
Reminders can be sent for recurring tasks as well.
Finishing tasks
Tasks can be marked as begun by clicking on .
In order to finish a task, click in
the action bar of the corresponding properties page.
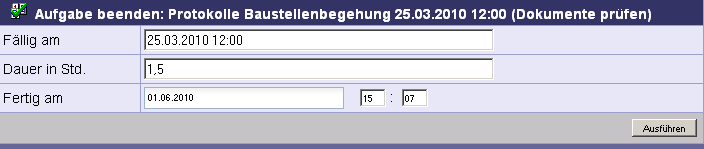
The completion date of the task is preset with the current date. It can, however, be modified if necessary. After clicking on Apply the task is marked as finished.
Deleting tasks
You can delete a task by clicking on in
the action bar of the task, or mark the task in the tree of the organizer and select Delete in the context menu.

Tasks can only be deleted by their creator, by project leaders or by project managers!
Due date
The difference between the specified due date for the task and the current date is calculated and entered in the field +/- days.

As soon as a task is finished, the difference between due date and completion date is calculated. The target duration specified by the creator of the task is displayed additionally to the actual duration.

Tasks with documents
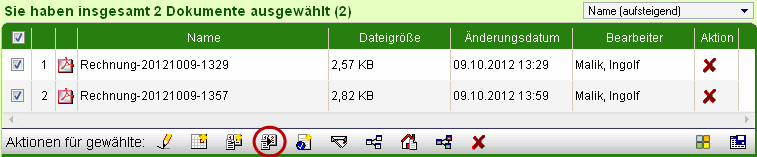
Tasks can be linked to documents using the clipboard.
First, copy the documents to the clipboard.
Assign a new task using the icon ![]() in the action bar. The documents are
automatically linked to the task.
in the action bar. The documents are
automatically linked to the task.
In order to link tasks with documents subsequently, select the option Add more documents
from clipboard subsequently. The task is then marked for the adding of documents. Now you can
copy additional documents to the clipboard and link them to the task using ![]() .
.
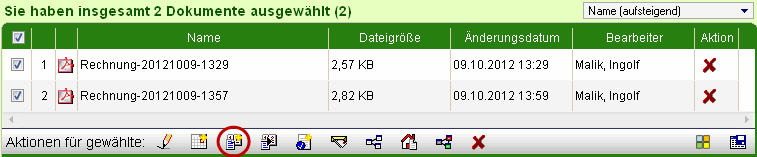
Open the clipboard using the icon
in the menu bar and mark the documents you wish to add. Choose the action
 'Add to the recently scheduled task'.
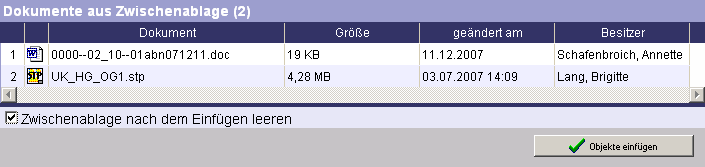
Click Insert objects to attach the documents.
Confirming tasks
The recipient of a task may be asked to confirm the task. If the person is informed about the task via e-mail (see Creating tasks), this e-mail contains a note about the confirmation. Tasks that need to be confirmed are also listed in the Organizer tree unter the category Tasks to confirm.
In their own overview of tasks, the recipient of the task finds the following functions:

| Reject task | |
| Accept task with reservations | |
| Accept task |
Task Numbers
Like appointments, tasks receive their own numbers. Depending on the configuration, they can be displayed and can then be used as search criteria.
In the search mask, an additional field is displayed for the task number.

If tasks are displayed in lists (for example in search results, an additional column Number is added containing the task numbers.