Manage Appointments
Topics
- Appointments - General
- Create Appointment
- Reserve Rooms
- Appointment Survey
- Recurring Appointments
- Group Appointments
- Appointment Reminders
- Appointments with Documents
- Confirm Appointments
- Group Appointments
- Appointments for Subjects, Folders and Document Libraries
- Delete Appointments
- Add and Remove People
- Appointment Numbers
- Exchange with Outlook
Appointments - General
PlanTeam-SPACE offers you a complete and flexible appointment management system. You can create and edit appointments for yourself, other members, and entire groups. Specific properties can be assigned to appointments to ensure secure and flexible handling.
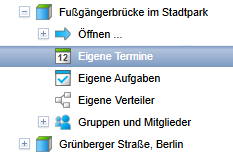
You access your personal appointment overview by clicking on the entry My Appointments in the project overview. For an overview of appointments, please also refer to the chapter Appointment Calendar.
The appointment overview opens on the right side:
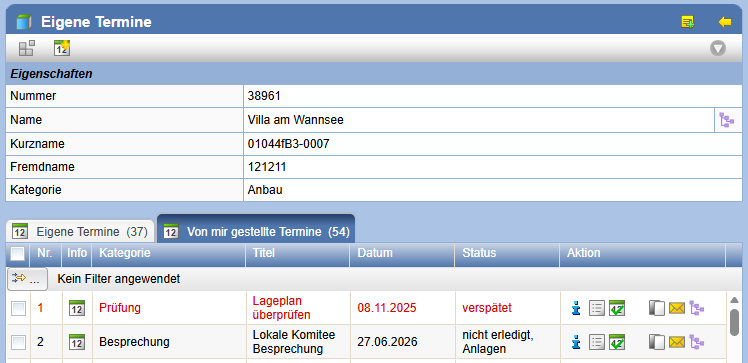
Here you receive an appointment overview categorized into appointments, appointments to be confirmed, proposed appointments, and workflow appointments.
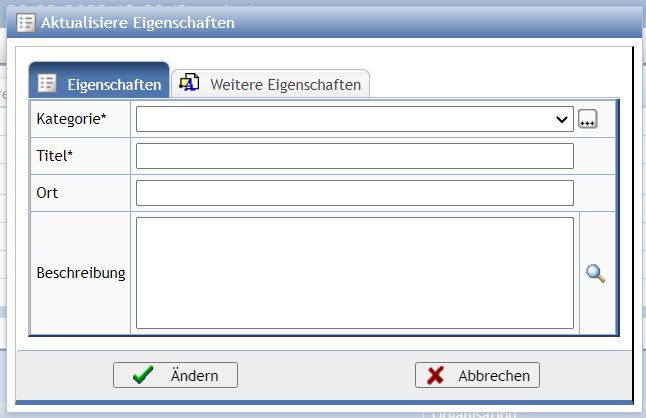
The properties of an appointment can be adjusted subsequently.
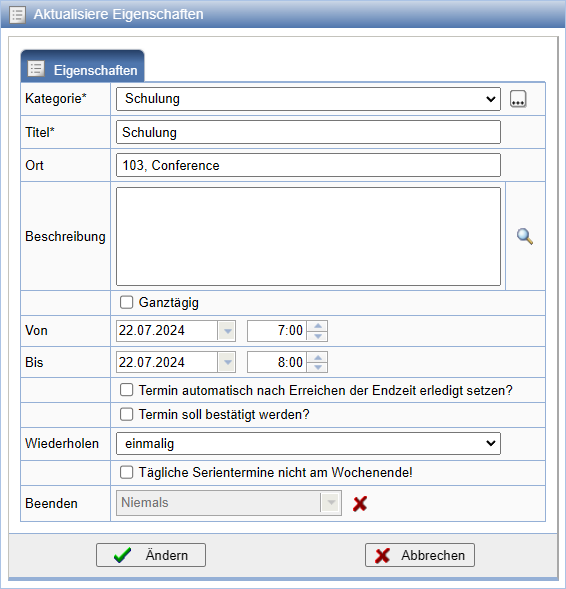
For an already completed appointment, some properties can be adjusted retrospectively via the Organizer Managerchanged or updated:
Create Appointment
To create a new appointment, click on the  - symbol in the action bar of the
appointment overview. A form opens in which you can enter the data for the
new appointment.
- symbol in the action bar of the
appointment overview. A form opens in which you can enter the data for the
new appointment.
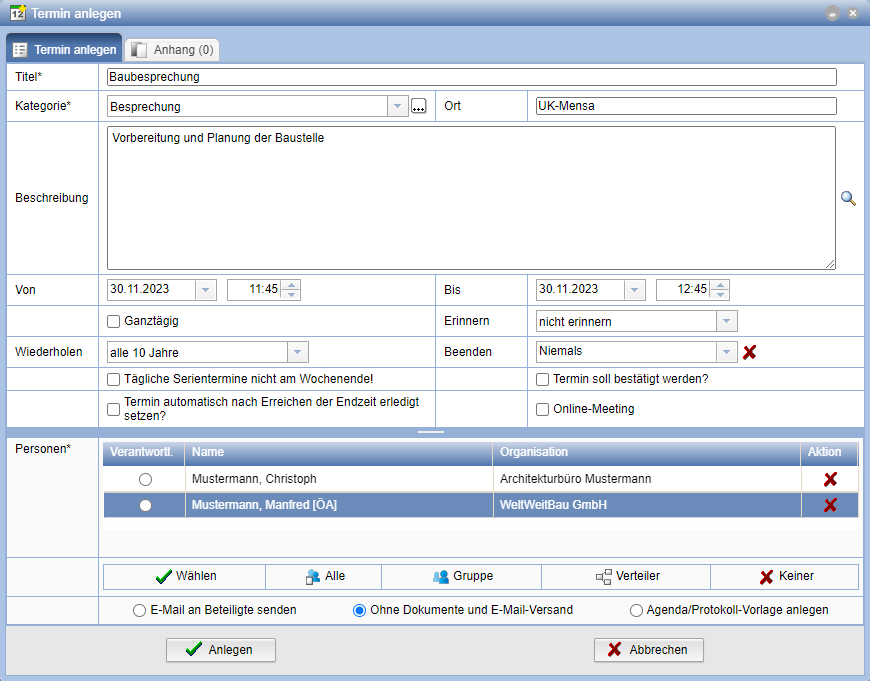
Enter all details for the new appointment into this form. If Appointment should be confirmed? is selected, the recipient of the appointment sees a marking via which they can confirm, decline, or accept with reservations. See for this Chapter Confirm Appointments.
If you check the box at Automatically mark appointment as completed upon reaching end time? set, the appointment does not need to be manually marked as completed later.
Via the button Select you add the members for whom the appointment should be created.
The option Send E-mail to Participants causes an e-mail form to open subsequently. In this form, the recipients of the appointment are already entered as recipients of the info e-mail and can be notified. When sending an appointment, a calendar file is automatically sent along. This calendar file can be taken over by the recipient with a click in their e-mail or calendar program. The appointment is then automatically created in the respective calendar.

It is possible to create an appointment without specifying a specific person and insert this later retroactively.
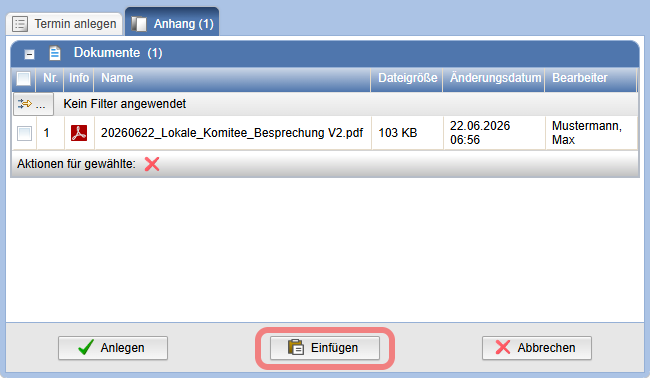
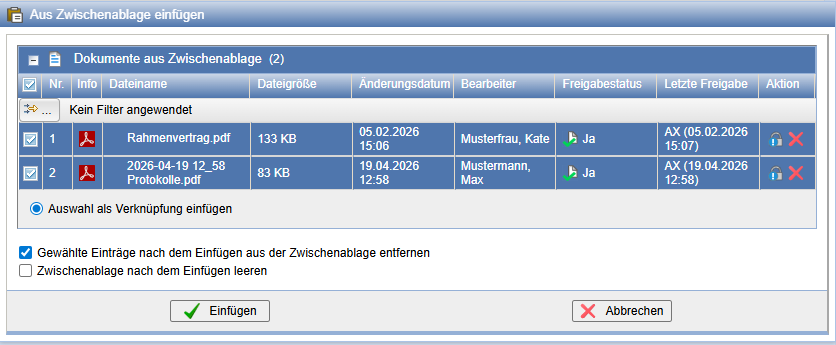
On the tab Attachment documents can be added to the appointment. These documents must already be in the clipboard for this. To do so, select the action Insert.
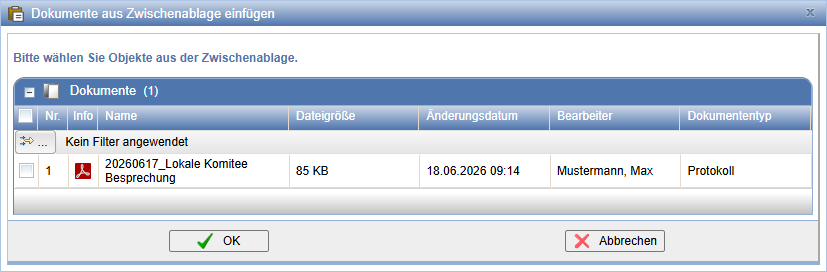
In the subsequent dialog, mark the documents you want to add to the appointment, and confirm your selection.
If you Subsequently insert documents via the clipboard have selected, another action is available to you in the clipboard, via which you can link documents copied from the documentation to the clipboard with the just created appointment retroactively. Further information on this can be found in the section Appointments with Documents
Reserve Rooms
If configured for the project, rooms can be marked as bookable in the FM component.
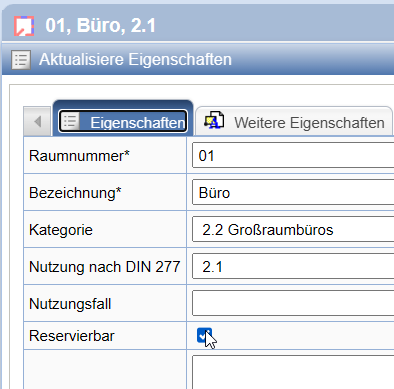
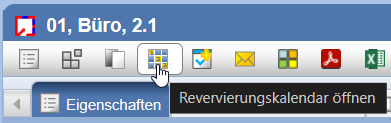
Bookable rooms (and parent floors) receive a booking calendar to manage bookings.
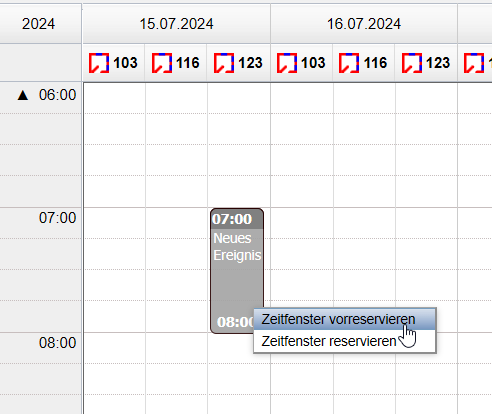
Here, time windows for booking or a tentative reservation can be selected.
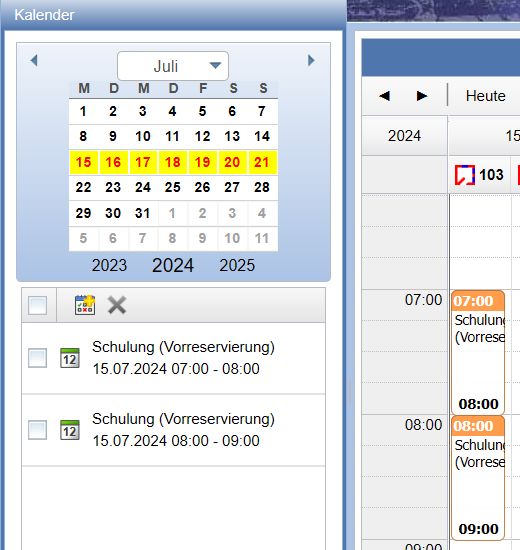
Time windows for a provisional reservation can subsequently be linked to a appointment inquiry.
Appointment Inquiry
An action to create an appointment inquiry is offered at the root node of the organizer tree.
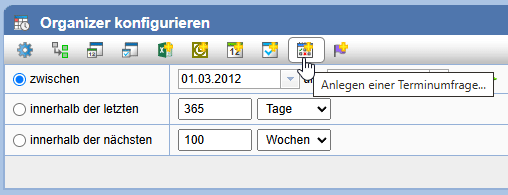
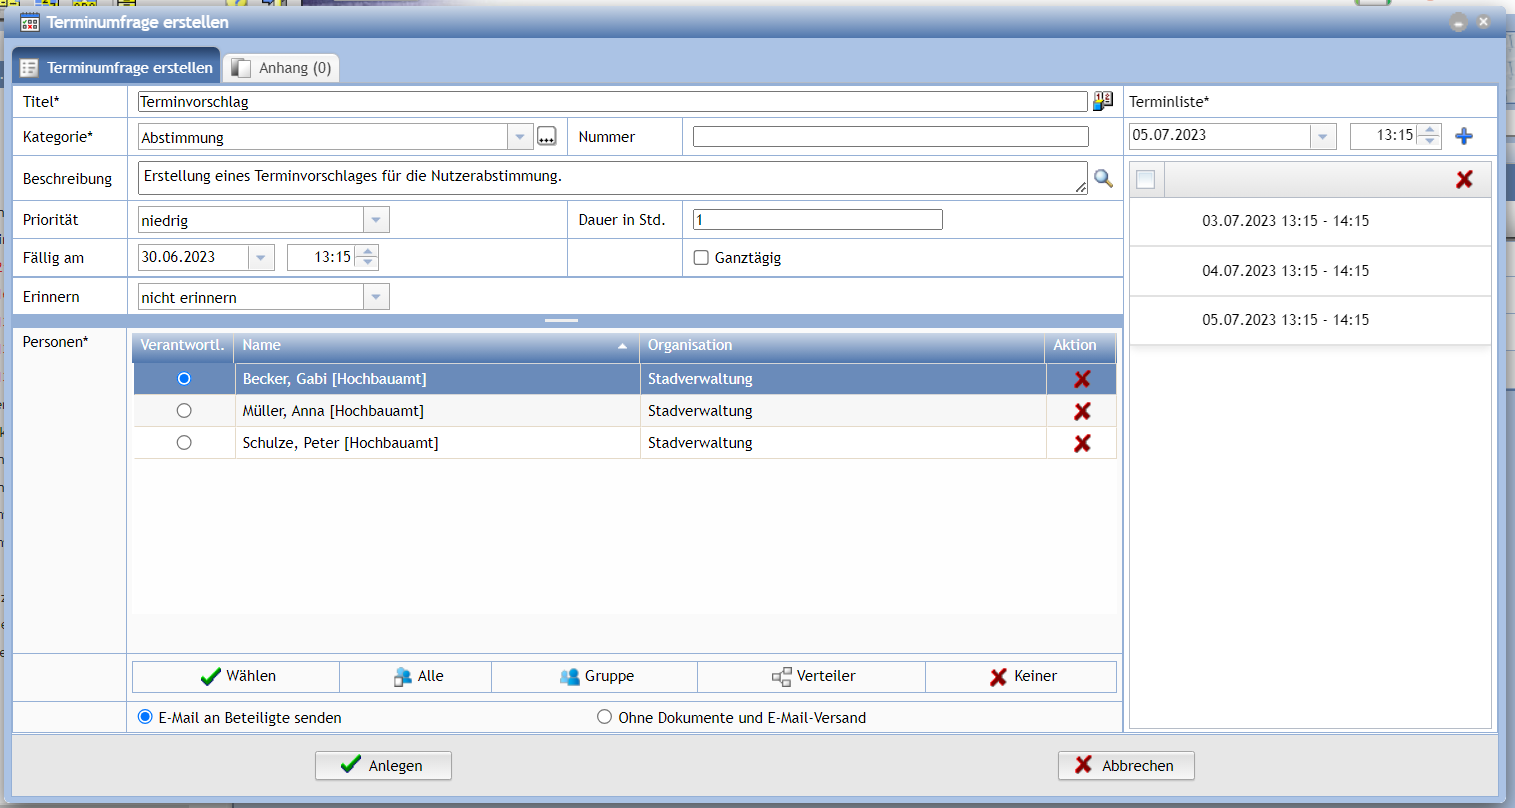
The action opens a new dialog for creating an appointment inquiry. On the right side, you can add appointments that will later be available for selection during the inquiry. You can select participants for the inquiry and set the duration of the appointment. Otherwise, the dialog functions similarly to the Task Dialog.
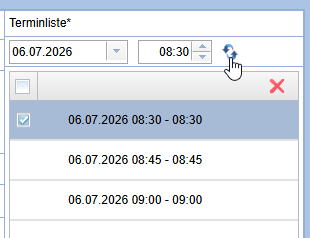
Selected appointments in the list can be deleted or modified. For this, only the appointment needs to be selected.
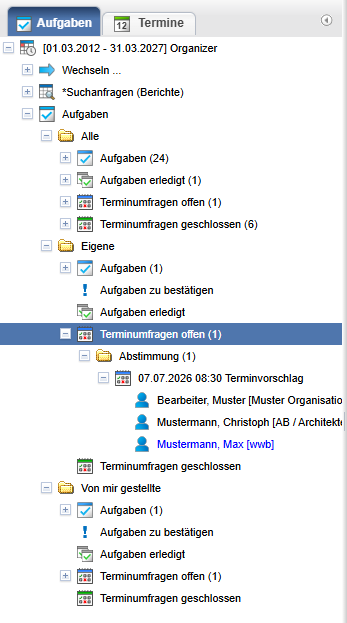
After an appointment inquiry has been created, it is displayed in the tree under the new node "Open Appointment Inquiries" or "Closed Appointment Inquiries" depending on the status - blue (open) or green (closed) - .
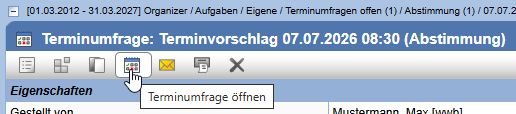
On the properties page of the inquiry, users can open the inquiry and vote on the appointments.
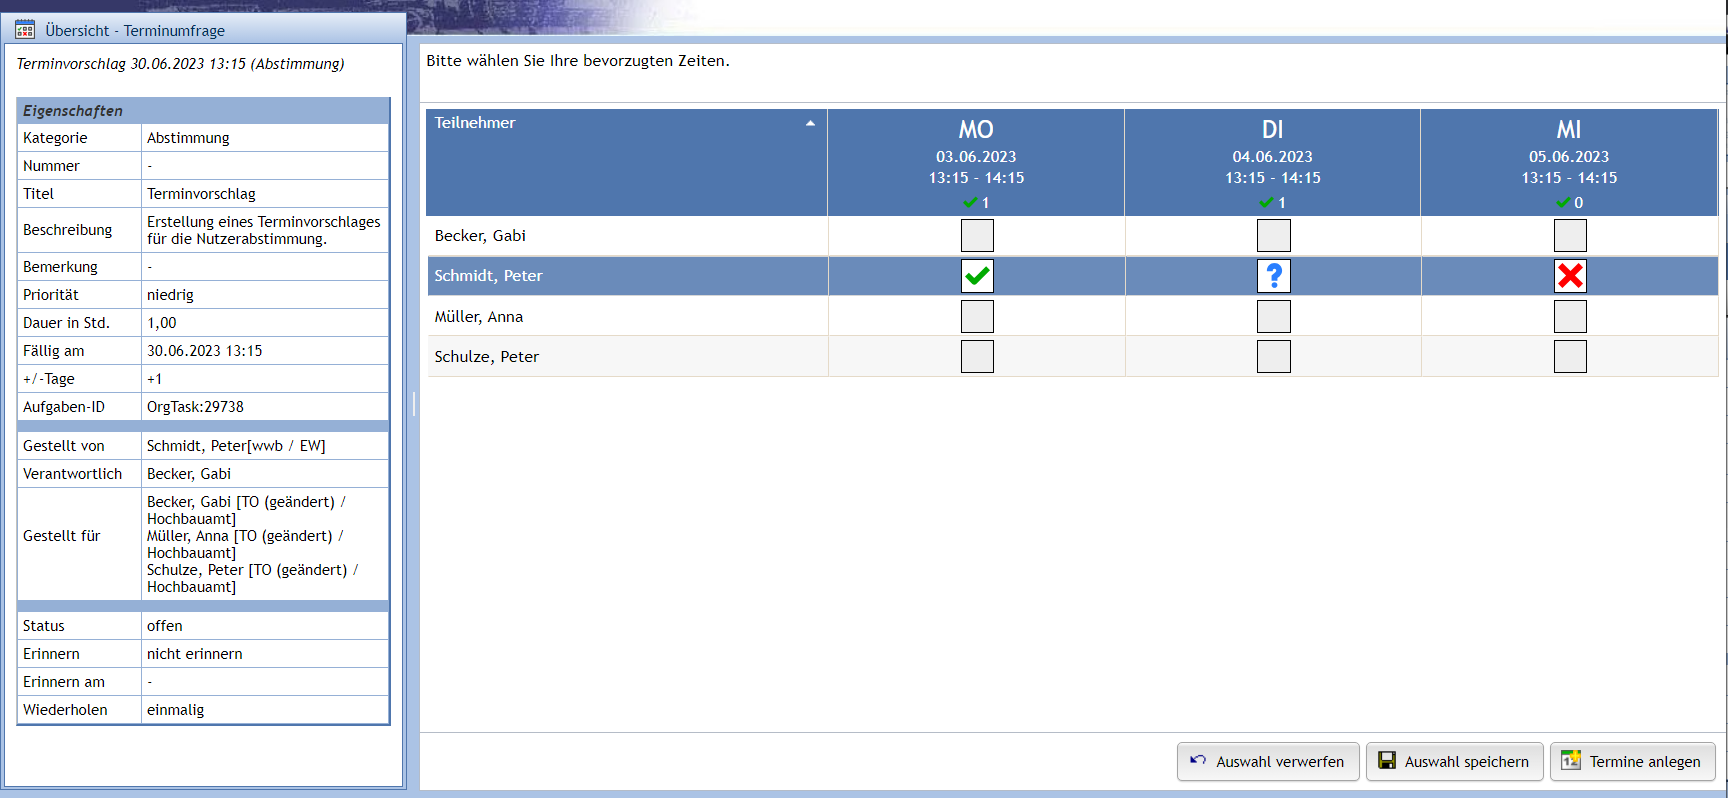
Here, users can switch between Acceptance ( ),
Acceptance with Reservation (
),
Acceptance with Reservation ( )
or Rejection (
)
or Rejection ( ) by clicking multiple times.
This selection must then be saved.
The option to create an appointment is only available to the creator and the person responsible for the appointment (if different).
) by clicking multiple times.
This selection must then be saved.
The option to create an appointment is only available to the creator and the person responsible for the appointment (if different).
Recurring Appointments
A recurring appointment is a cyclically repeating appointment. It is created once and repeats in a specific rhythm (daily, weekly, annually).
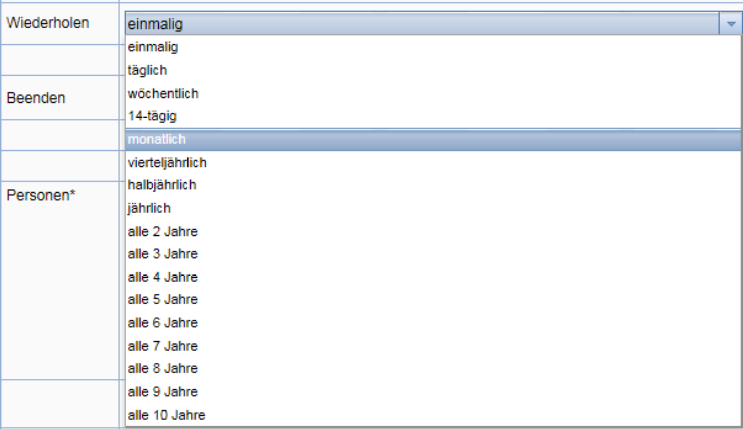
In the field Repeat set the cycle for the appointment. If you enter an appointment, for example, on October 7 at 10:00 a.m., selecting monthly in the Series field automatically results in the next appointment being set for November 7 at 10:00 a.m.
As soon as a series appointment is completed or automatically marked as completed, the next appointment is generated according to the cycle.
Group Appointments
Group appointments have the property of being assigned to all members of a group. No member of the group can be removed from the recipient list after the appointment has been assigned. Any person who joins the group as a member will automatically receive the appointment. Appointments can also be assigned to empty groups. As soon as such a group receives a member, that member is assigned the appointment.
To create a group appointment, click the - symbol in the action bar.
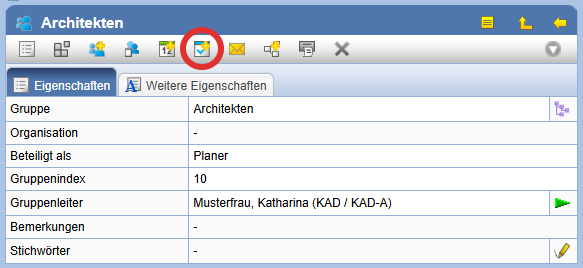
In the opening appointment form, the members of the group are already listed in the People field.
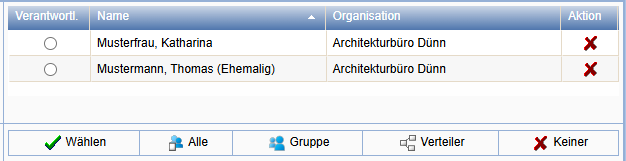
To create the appointment, click Create.
| Note: | If you make changes to the recipient list while editing a group appointment, it becomes a regular appointment. |
Appointments for Subjects, Folders, and Document Folders
If you want to create appointments for document folders, folders, or subjects, press in the corresponding action bar.
For Subjects:

For Folders:

For Document Folders:

The new appointment appears in the table on the Properties page under Appointments .

Appointment Reminders
When creating an appointment, you can select a time period during which an e-mail reminder will be sent before the start of the appointment once this period is reached.
Each participant as well as the appointment creator can subsequently adjust the reminder period individually via the Appointment Properties page.
Select the reminder period when creating the appointment or on the Properties page in the Remember field:
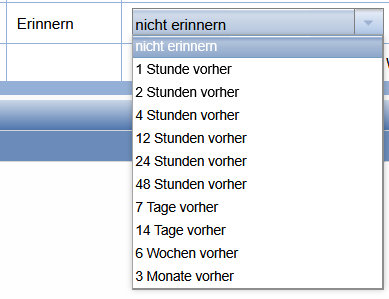
Reminder e-mails can also be sent before each due date for series appointments.
Appointments with Documents
Appointments can be linked with documents via the clipboard.
To do this, first copy the documents to the clipboard. Select via the icon in the Actions bar a new appointment . The documents are automatically linked to the appointment.
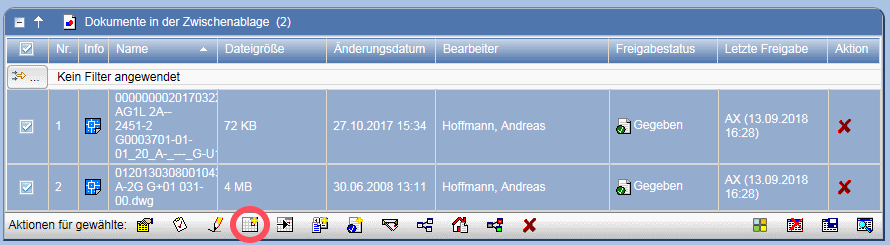
To subsequently link documents to an appointment, select the option when creating
an appointment: Subsequently insert documents via the clipboard
insert . The appointment is marked for adding documents. You can now copy any further documents to the clipboard and add them to the appointment via the button  to the appointment
add.
to the appointment
add.
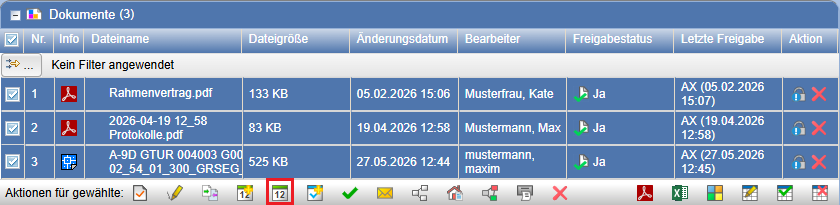
Open the clipboard via the icon in the menu bar, mark the documents to be added, and select the action
Add to the just created appointment .
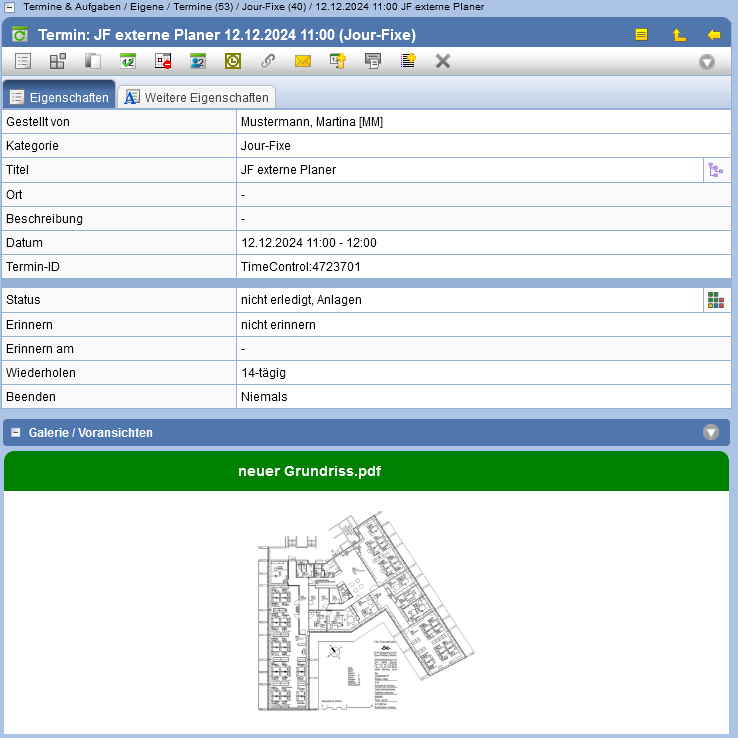
If the documents linked to an appointment are of a file type for which a preview or, in case of multiple linked documents, a gallery is generated, these are also created directly with the appointment.
Confirm appointments
The recipient of an appointment can be requested to confirm it. If the person is notified about the appointment via e-mail (see Create appointment), this e-mail contains a note regarding confirmation. Appointments requiring confirmation are also listed in the Organizer tree under the individual nodes All, Own or Sent by me .
In their own appointment overview, the recipient of the appointment then finds the following functions:

This means:
| Cancel appointment | |
| Confirm appointment pending | |
| Confirm appointment |
Delete appointments
To delete an appointment, select the
button in the Actions bar of the appointment , or select the
appointment in the tree of the Organizer and select the
menu item Delete.

Only the creator, project leaders, or project managers can delete appointments!
It is not possible for responsible persons to delete appointments!
Add and remove people
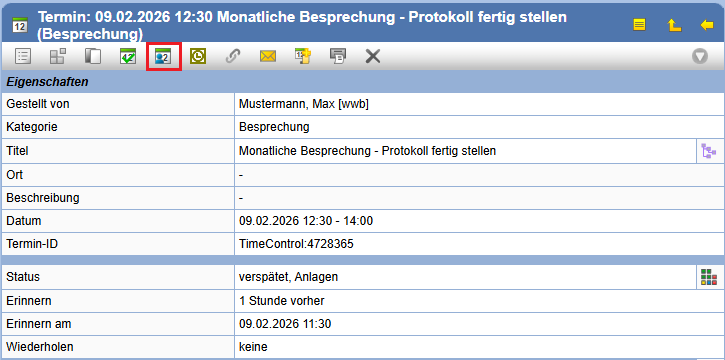
To add or remove people from existing appointments,
select the icon
in the Properties page of the desired appointment.
All people linked to the appointment are then listed.
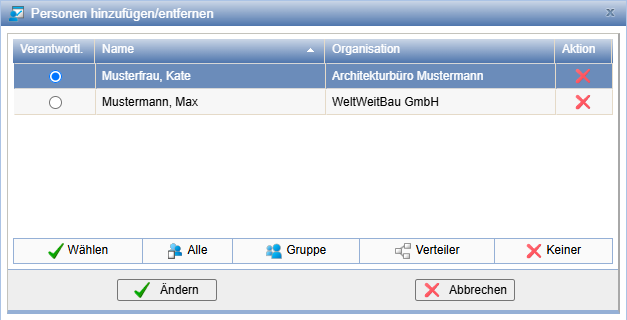
The following actions are available to you:
| The person is removed from the appointment. | |
| Select additional involved persons. A selection dialog will open. | |
| Add a group to the appointment. A selection dialog will open. | |
| Add a distribution list to the appointment. A selection dialog will open. | |
| All people added to the appointment are deleted. |
Appointment numbers
Appointments receive their own numbers like tasks. These can be displayed with appropriate configuration or, if known, used as a search criterion.
In the search mask for appointments, the additional field Number is displayed, in which you can enter the appointment number you know.

When appointments, such as here in the result of a search, are displayed in lists, an additional column Number is added with the appointment numbers.

Exchange with Outlook
Each appointment receives a unique appointment ID, which can be viewed on the properties page of an appointment and enables unique assignment.
An appointment can be exported via email or via the button to Outlook.
Here, the appointment can be saved, edited, and if necessary, re-imported into PTS.
For this, the appointment is sent by mail to PTS with the action
 import.
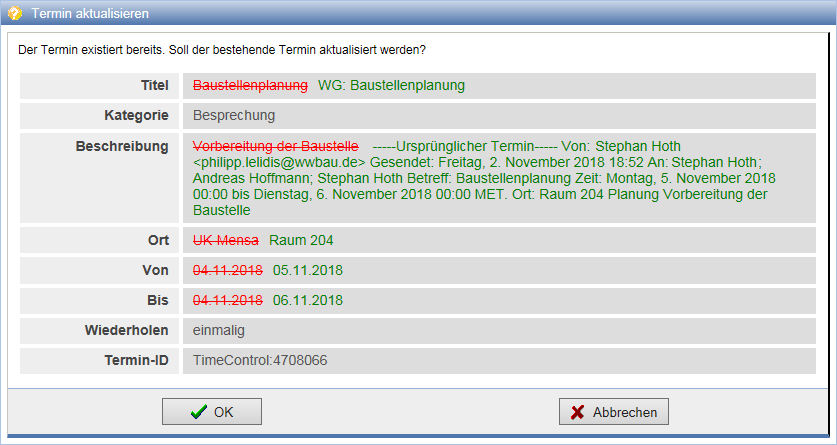
The existing appointment is identified via the appointment ID and can be updated if desired.
import.
The existing appointment is identified via the appointment ID and can be updated if desired.
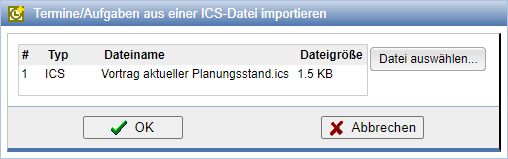
Appointments can also be imported into PlanTeam-SPACE in ICS format (e.g., from Outlook). To do so, select the corresponding action on the Organizer's properties page.
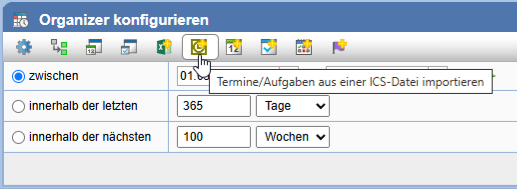
Thereupon, an ICS file can be selected from which all appointments will be imported.