Manage Organizations
General
The contact data necessary for communication is stored in organizations and the associated persons. The organizations themselves are managed in the Organization View. This view is available only to the Roles Administrator and Project Manager.
To access the Organization View, press in the project overview. If you are currently working on a project, first return to the Project Overview.
Display
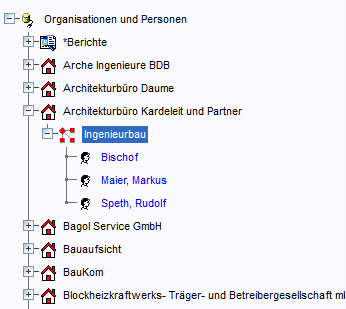
In the standard display, all recorded organizations are listed alphabetically. Organizations can contain further departments. Persons created in organizations or departments are displayed below these. Persons with an ID are highlighted in color (default: blue).
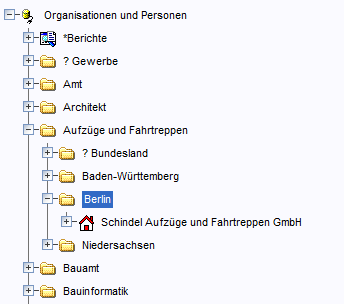
If individual views have been configured, you can use them to structure the organization tree. This can greatly simplify finding organizations, for example when there are many organizations.
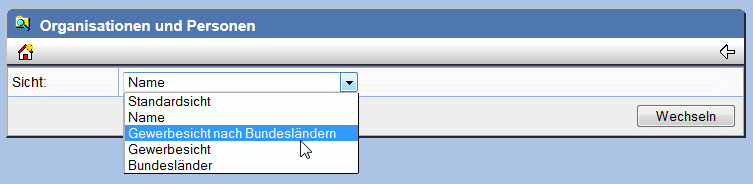
To switch the display view, click on the root node Organizations and Persons in the tree and then select the desired view on the right side:
Create Organization
Select the root node Organizations and Persons and
select the action  , to
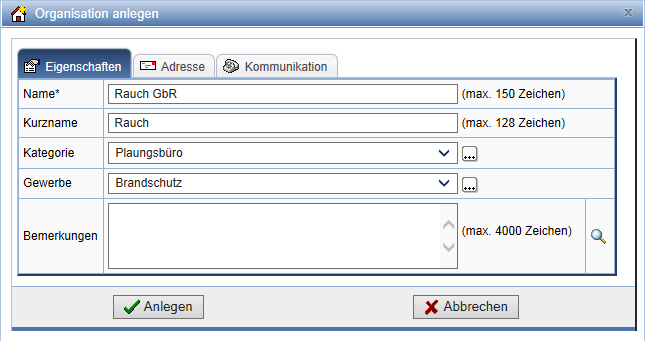
create an organization. The form for entering organizational data appears in the workspace.
, to
create an organization. The form for entering organizational data appears in the workspace.
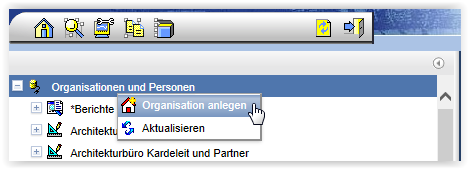
Alternatively, you can
also select the action in
the context menu of the topmost root node.
Enter the required data and confirm with Create.
Edit Organization
Click on the organization in the organizational structure that you want to edit. The properties page of the organization opens.
The following table explains the actions available:
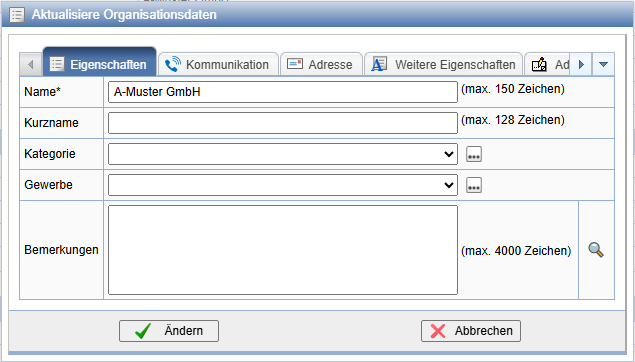
| Using this button, you change the master data of the organization. | |
| Using this button, you can view the registration data of the organization. When and by whom was the organization registered? When and by whom were the entries last modified? | |
 |
Here you create a new person for this organization. |
 |
Using these buttons, you create a new person by importing an Electronic Business Card (VCF card). |
 |
Using these buttons, you create a new N.N. person. You can assign real names to this person at a later time. |
 |
Using this button, you create a new department for this organization. |
| By clicking this button, you can paste data from the clipboard (e.g., a person here) into the organization. | |
| Using this button, you copy the organization so that you can then link it, for example, with a group (in the project). | |
| A click on this button deletes the organization. | |
| Creates a document with the properties of the object to subsequently print it. | |
| Using this button, you expand the selected organization in the organizational structure. | |
| By clicking the pencil symbol, you enter a text field where you can set keywords. These keywords can be used as search criteria when searching for the organization. | |
| Using this button, you change the communication data of the organization. | |
| Opens the Internet address of the organization. | |
| Opens the address in a map service with appropriate configuration. | |
| Using this button, you change the address data of the organization. To quickly adapt the address change of an organization or department, it is possible to inherit the address from organizations and departments to their sub-departments. In the form, "Inherit Address" must then be selected. |