E-mails and Internal Messages
Topics
General
In general, a distinction is made between e-mails and messages. E-mails are sent via a configured e-mail server and can be read by the recipient using a suitable e-mail program. With appropriate configuration, receiving e-mails via PlanTeam-SPACE is also possible. Messages do not leave the system and can be used for internal communication among members.
To create e-mails or messages, select the action New in the navigation bar within a project.

Additionally, e-mails or messages can be sent via the action in the
action bar of certain objects or via the Clipboard. Documents are automatically added as attachments. Of course, additional documents can be attached to the e-mail subsequently.
If documents are linked to the selected object or attachments exist, they can be included in the attachment.
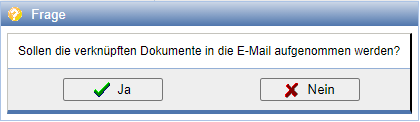
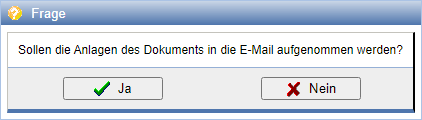
After triggering the action, the e-mail dialog is displayed:
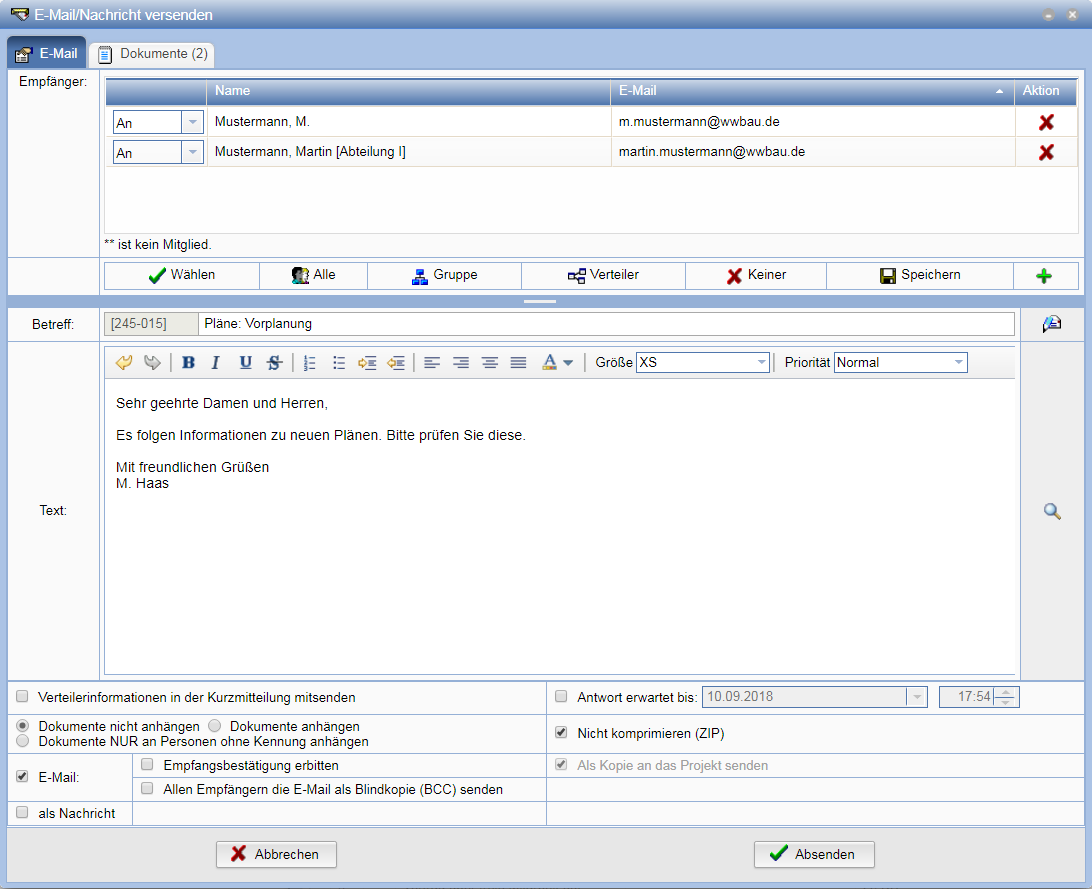
| Note: | The option Send a copy to the project is only available if e-mail reception is configured for the project. |
Select Recipients
First, select the recipients. Use the actions below the recipient list for this.

With the button
Selectare inserted into the 'Recipient' list. Any number of recipients can be selected here. All persons assigned to the project are displayed sorted by organization.
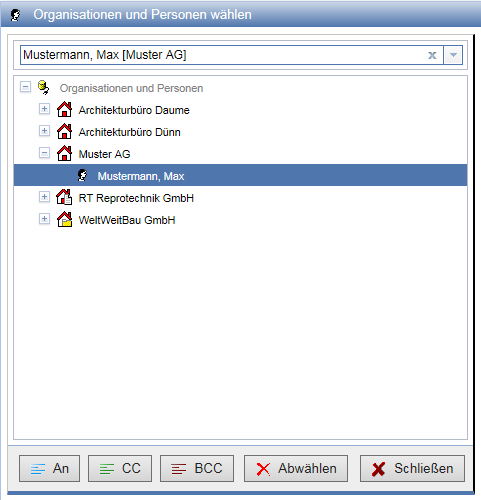
The easiest way to select a person as recipient is the search field above the organization tree. As soon as you enter three or more characters into the search field, suggestions for recipients will be listed based on this input. Now you can select the desired member using the arrow keys and press Enter to add it directly as a recipient to the list.
In addition to searching, you can mark selected persons using the buttonsAn,CCorBCCor by selecting options in the context menu to specify as direct recipient (To), recipient of a copy (CC), or recipient of a blind copy (BCC). If you select an organization, all contained persons are taken over as recipients. Elements that cannot be selected in the tree are displayed in gray.
After you have selected all recipients, you can close the window.
Over GroupYou can select members sorted by groups.
It is also possible to simultaneously select all members of a group, provided that a distribution list has been created for the group. Members without an ID and email address are displayed in gray and cannot be selected.
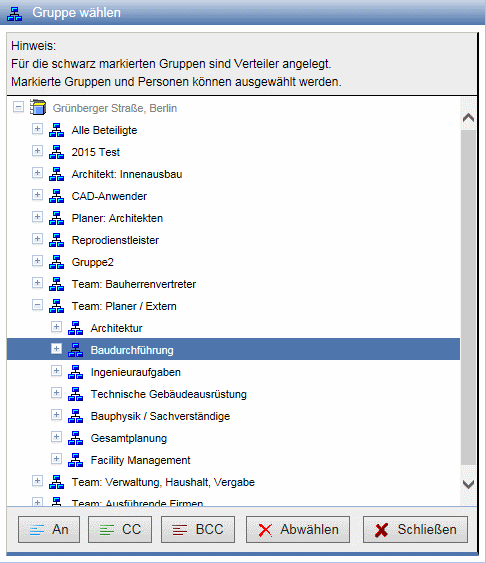
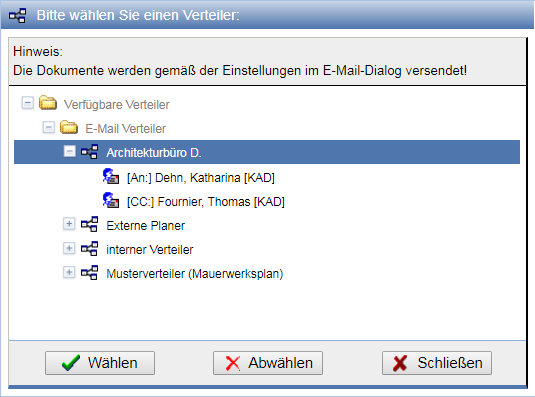
About the Action Distributorcan you import members of an existing distribution list into the list. This action is not available if no distribution lists have been set up.
About the Action Allcan
all members of a project be set as recipients simultaneously and via
Noneall previously registered recipients are removed from the list again. The action
is only visible when aGroup distributorsfor the groupAll Involved Partiesexists.
Do you want to send an email regarding an object with linked members, these will be automatically added as recipients. These can be removed if desired.
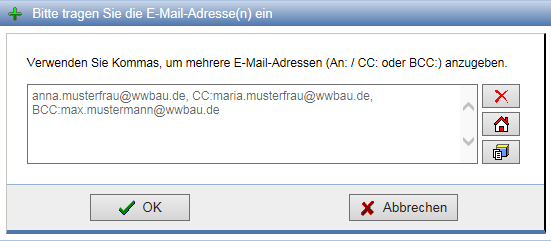
If you want to send emails to recipients who cannot be selected as recipients (e.g., because their communication data has not yet been recorded), press in the email dialog.
Now enter the desired e-mail address. If you want to specify multiple e-mail addresses, separate them by commas. By specifying AN:, CC: or BCC: before the e-mail address, you determine whether the recipients receive the message normally, as a copy, or as a blind copy.
Depending on configuration and rights, organizations not involved in the project can also ,
or other projects
,
or other projects be set as recipients in this dialog.
Recipients who do not have membership in the project are marked by the symbol**
behind the e-mail address.
| Note: | This action is only usable with the corresponding configuration. If it is not configured, contact the project manager. |
via the action
Save the selected recipients can be saved as a distribution list. External recipients can also be saved in a distribution list if necessary.
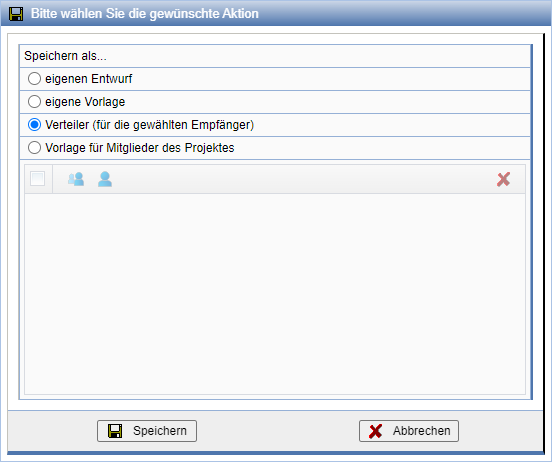
Activate the optionsave the selected recipients as a distribution list and pressSave.
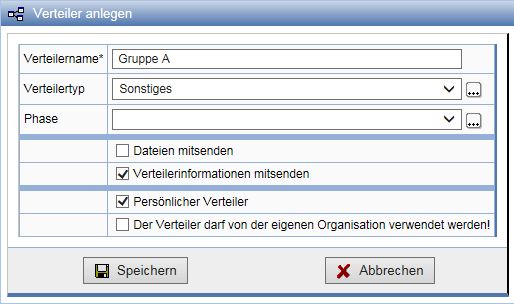
Now give the distribution list a name and configure its properties. A personal distribution list is available only to the creator of the distribution list, i.e., you. Note that only members of the Exchange Manager role can create distribution lists that can be used by all members.
The distribution list created in this way is now available both when selecting distribution lists in the e-mail form and when thedistribution of documents.
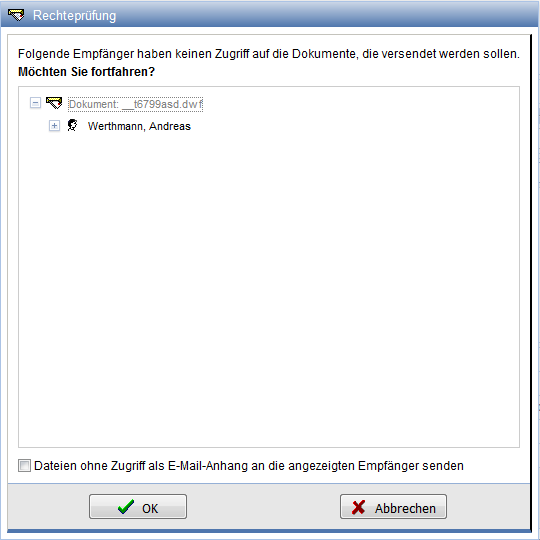
When sending, it is checked whether the selected recipients have the right to read the attached files, so that individual recipients can be deselected:
Compose message
Enter in the fieldSubject a brief information about the content of the e-mail. If the action for sending an e-mail to an object was called, the subject is already pre-filled, but can be changed afterwards. Depending on the configuration, the subject is supplemented by further information (e.g., the short name of the project).
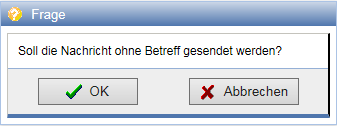
Entering a subject is optional; however, to ensure better overview, it should still be done. Therefore, you will be warned about an empty subject if you want to send the message.
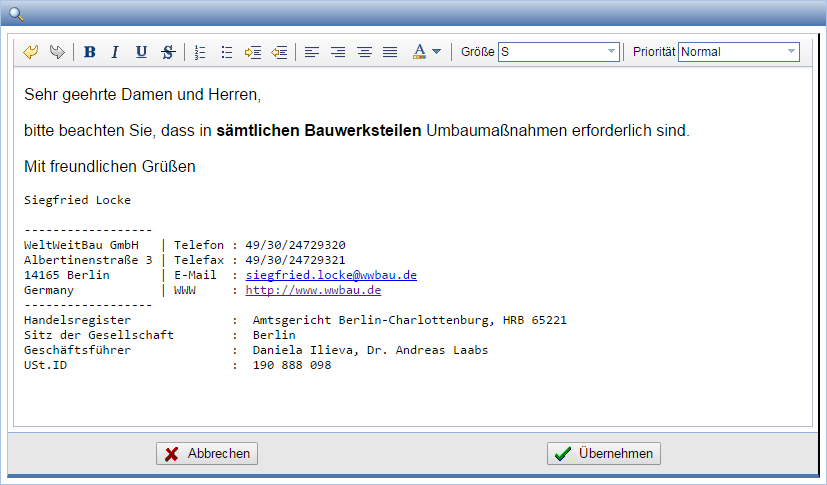
Enter the message content in the fieldText. Formatting for newly entered or selected text can be adjusted using the actions above the input field. For all actions, tooltips with their names are displayed by hovering the mouse pointer over the action.
via the action
the message text can be edited in its own editor, which provides more space for the content.
Send Options
The following options are available when sending an email:

| Include distribution list information in the short message | When this option is selected, the chosen recipients will be listed in a table within the message text. |
| Expected reply by | |
| Create reminder date | |
| Do not attach documents | When sending an email, document attachments are not included. Recipients can then navigate directly to the documents via links in the message text, or download them using a special link as a download order. However, it is a prerequisite that you possess an ID so that you can log in. |
| Attach documents | Recipients receive document attachments via the email itself. If the configured limit (default 10 MB) is exceeded, the system will first attempt to split multiple files into several emails. If this is not possible, the process will return to the email form. |
| Attach documents ONLY to persons without an ID | With this setting, documents are sent only to recipients who do not have an ID and therefore cannot log in to PlanTeam-SPACE to download the documents. |
| Provide password-protected link for download without login | |
| Do not compress (ZIP) | Documents are compressed by default to minimize data transfer. However, it may be necessary to send file attachments uncompressed. Activate this option to do so. |
| When this option is activated, the message is sent as an email. | |
| Request read receipt | Optionally, a read receipt can be requested with the email. This will be sent back to you by the recipient as confirmation. |
| Send email to all recipients as Blind Copy (BCC) | If this option is activated, all selected recipients will automatically receive the email as BCC. This allows multiple recipients to be notified with one email without them receiving information about each other. (If necessary, disable the option to include distribution list information.) |
| as message | In addition to the email, or exclusively as such, an internal message can be sent, which can only be read by members who have access credentials. |
| Save the email in the documentation after sending | |
Attachments
Objects such as e.g. Documents and Structurescan be sent as an attachment to an email or message. In this case, a reference to the object can also be sent without sending the file itself. In the email, there is a link to download the documents or to open the objects in the PlanTeam-SPACE.
To attach an object to an email, select the action
from the Actions bar of the
Properties page of the respective object.
To
send multiple objects, they are first inserted into the
clipboard and there the action
is selected.
The objects are now in the email form on their respective tabs of the object types.
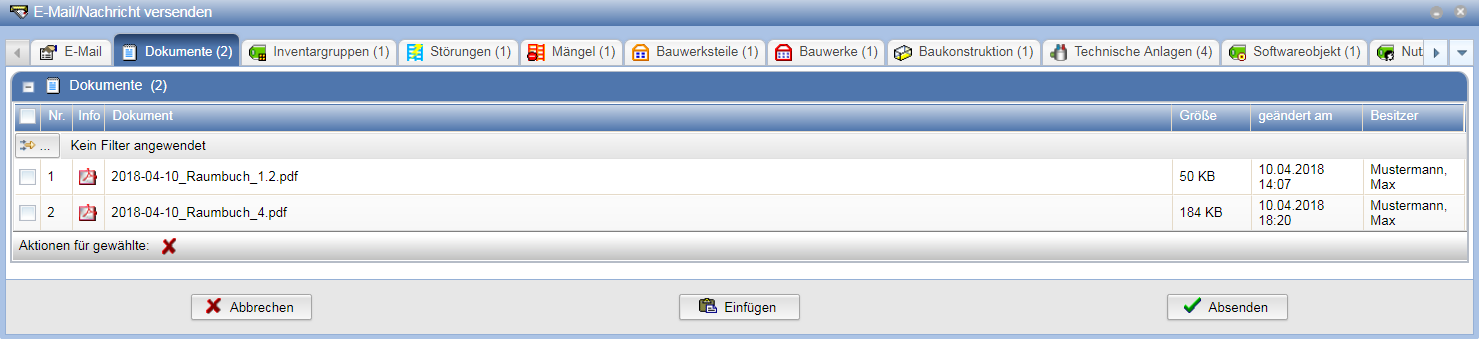
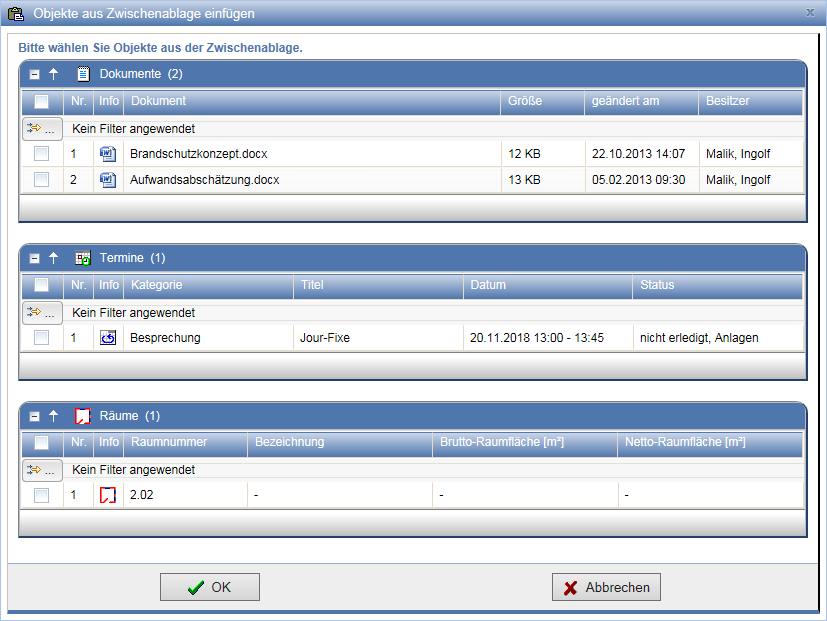
If you want to add objects to an email later, press Insert. This will display the content of the clipboard and the selected objects can be taken over as an attachment.
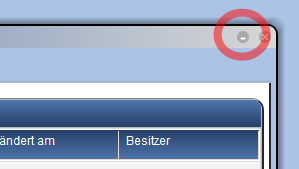
If no objects are contained in the clipboard yet, you can minimize the email form, possibly switch to another page such as documentation and place the desired objects in the clipboard there.
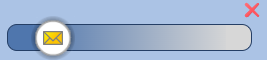
Subsequently, restore the email form again and continue with the insertion as described above.
Add attachments via Drag & Drop
Objects can be inserted as attachments via Drag & Drop. Click on the desired object in a table or tree, drag it while holding down the mouse button to the tab card Documents or, if an object of the same type is already present, to the corresponding tab in the message dialog and release the mouse button here.
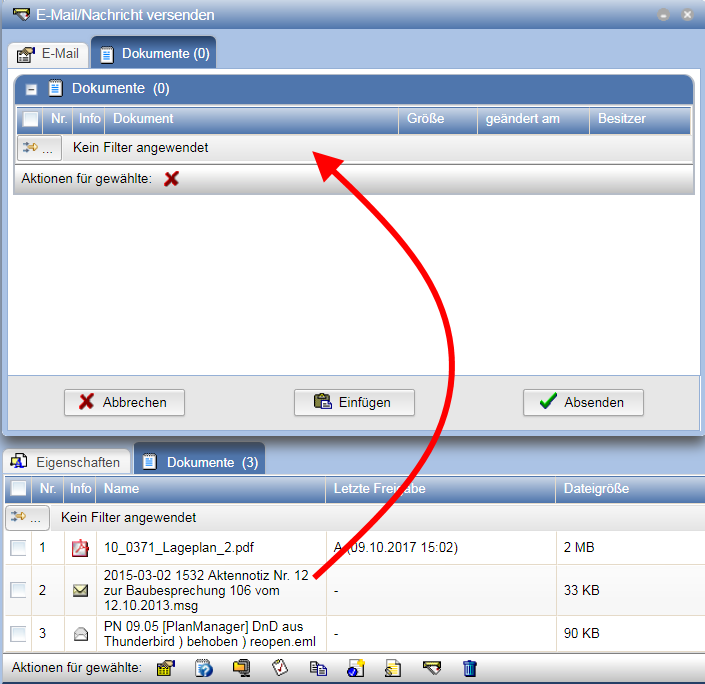
The object is copied to the attachment. In this way, you can now add further objects.
If multiple objects are selected in a table, they are moved together or
attached.
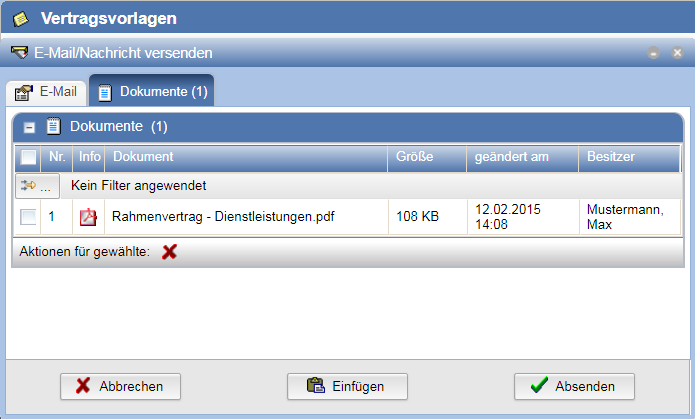
| Note: | If the attachments exceed a certain size the email is automatically split. So even emails with many or large files can be sent. |
Password-protected link
If configured, you can send attachments to persons without access to PlanTeam-SPACE. These recipients receive a password-protected link to access the (CAD) documents. The password is sent in a separate email.

Shipping log
After sending a message, an email or a distribution list, a shipping log is generated and can be accessed via the status bar by pressing Log to call up.

The log is now displayed. The log can be
sent via the action
as an email to the email address assigned to your ID.
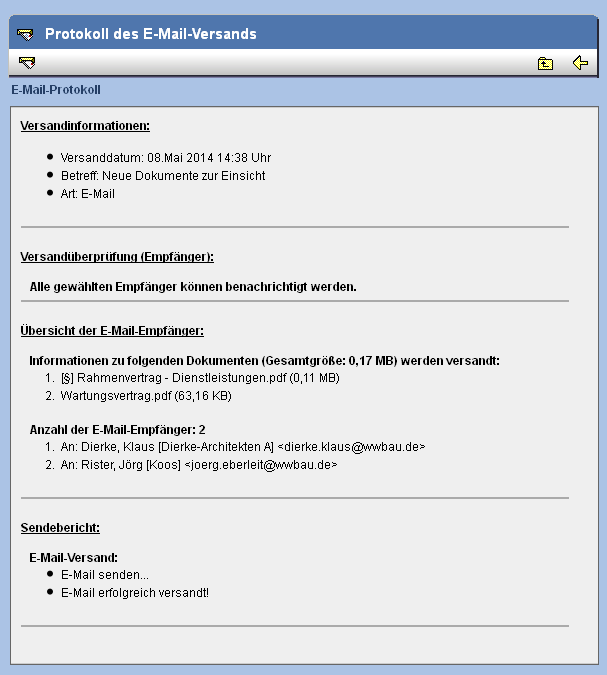
The log contains information about access to the documents (rights, status), the reachability of the individual recipients (email recipients need an email address, message recipients an ID) as well as the success of the shipment. If emails and internal messages are sent simultaneously, the compilations for both shipping methods are listed one after the other.
The log is additionally attached to the outgoing journal of the message as a PDF file and can be viewed or printed in the message center.
Create and load templates and drafts
If you want to save a written message as a draft or template,
press  .
Drafts are automatically deleted after further processing and sending,
while templates remain available until they are manually deleted.
.
Drafts are automatically deleted after further processing and sending,
while templates remain available until they are manually deleted.
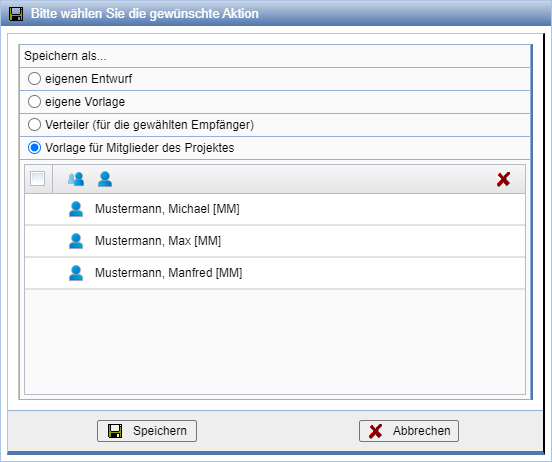
Now choose whether the message should be saved as a draft or template.
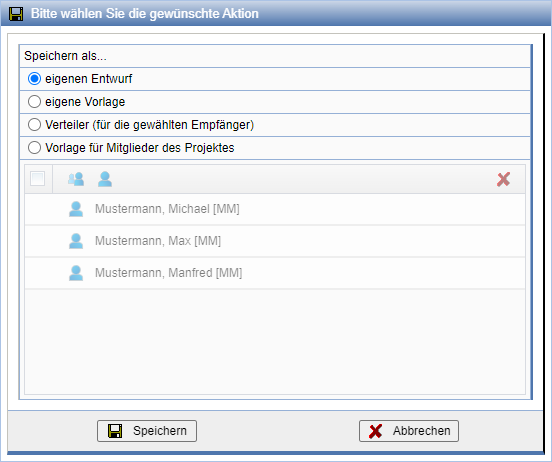
At this point, you can also create your own template or a template for project members.
The templates and drafts are saved in the Message Center under your own nodes.
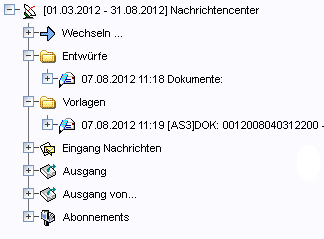
To further edit a draft or template, select it/them in the tree on the left side and choose the item Edit selected message as new in the context menu. The email form will then open and you can proceed with the Compose function.
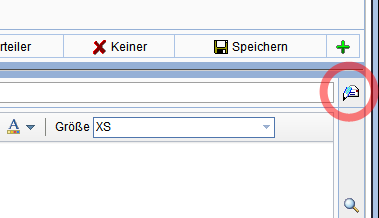
Alternatively, it is possible to load a template or draft subsequently
when the email form is open. Press the action in the form
.
Now select the draft or template.
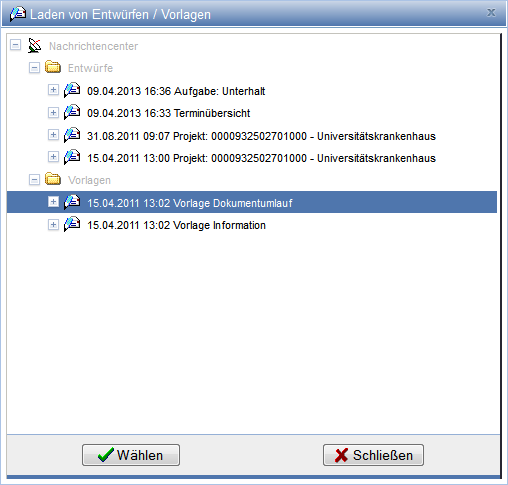
Now choose how recipients and attachments from the draft/template should be taken over: only, additionally, or not at all.
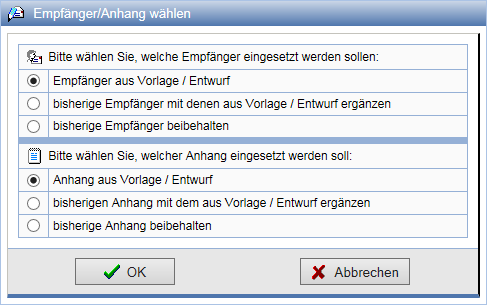
Then proceed with the Compose function as usual.