Notes and Ratings
Topics
General
All objects in the documentation and area management can be rated and annotated with notes.
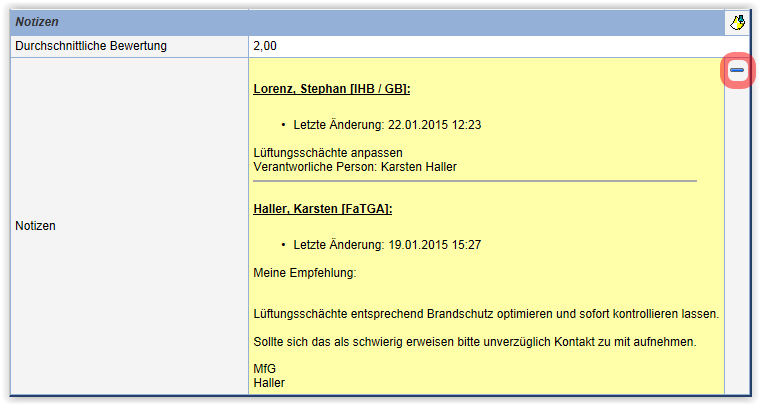
You will find notes and ratings on the properties pages in the section Notes. Here, the average rating of all participants is listed, as well as the left notes displayed in reverse chronological order; i.e., the most recently added notes are shown first.

With multiple notes, the field is displayed reduced. To display all
notes, press at the right edge ; or
, to reduce the display again.
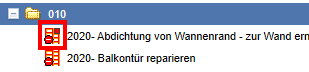
If a note has been created for a defect, this defect is marked with a red indicator in the tree.
Edit Notes and Ratings
To create notes and ratings, first open the properties page of the object. Now press in the section
Notes the action .

A dialog with all notes and ratings you have already entered is now displayed. You can edit your note, provided no further note has been added. This ensures a traceable history of the notes. Furthermore, you can submit or change a rating.
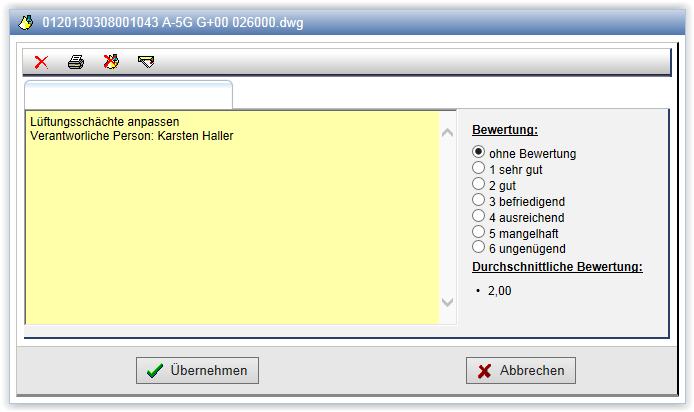
If you want to enter a note, simply write it into the yellow highlighted field. A rating can be specified on the right side by selecting one of the indicated points. Ratings can be given between 1 (very good) and 6 (insufficient). If you do not wish to give a rating, select the point no rating.
The following actions are available in the action bar:
| Deletes the text in the Note field. | |
Creates a PDF document with all specified notes and
ratings. If the Adobe Acrobat Reader plugin is installed, the
PDF document is displayed and can be printed or saved here.
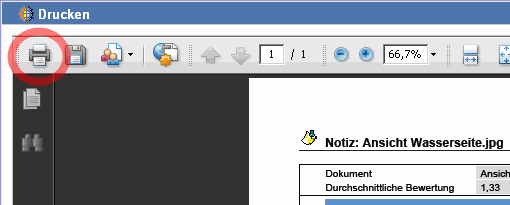 If the Acrobat Reader is not installed, the PDF file can be saved. |
|
Deletes your entire entry, including notes and
Rating. First, only your note is marked and then with
pressing OK permanently
deleted.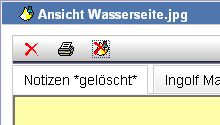 Notes and ratings of other participants are not affected by the action. |
|
| Sends the notes as email or internal message. |
With the button OK your entries are accepted. By pressing Cancel your entries are discarded.
Search
It is possible to search for documents that have notes added to them.
To do this, select in the field Date the entry Change Date (Notes) and specify a desired time period. A description of the search and adjustment of the display can be found in the general description of search.
