Approvals and Actions
General
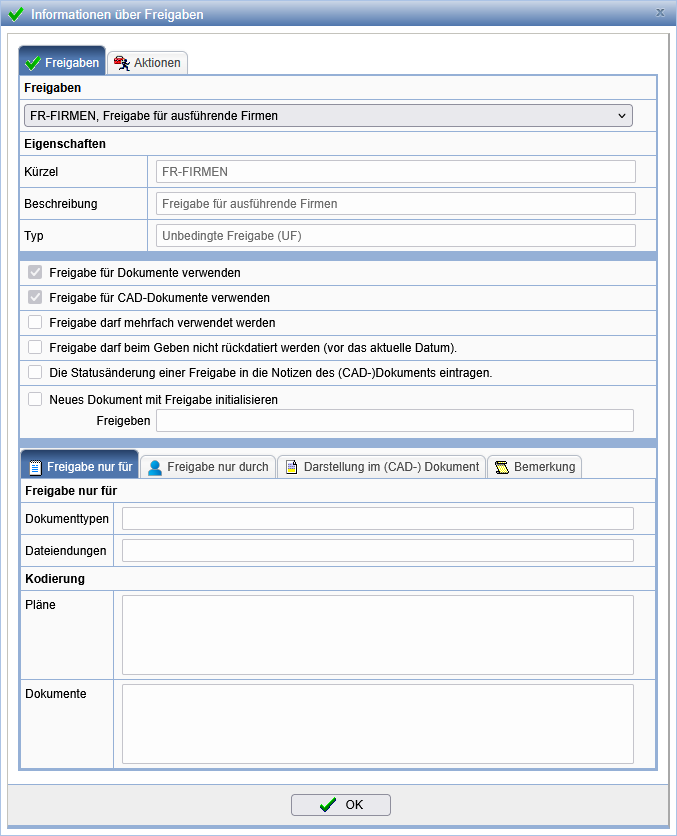
With approvals, information about the revision status of documents can be managed. After a review, the responsible person can approve the documents or reject the approval. In addition to granting approvals, further actions can be executed automatically.
Granting approvals takes place in two steps:
- Creation of the approval. This makes it known that an approval is to be granted.
- Granting of the approval by the responsible person.
The two necessary steps can also be executed directly one after the other by the responsible person.
Approvals can be restricted to certain document types according to their file extension. Alternatively, approvals can be defined for all documents or CAD documents. Furthermore, approvals can be configured so that they can only be created once for a specific document. This is useful, among other things, if decisions made regarding the approval of a document should not be arbitrarily changed. If necessary, a new approval can then be created for a new version of the document. Thus, in general, only part of the approvals configured for the project are available for the respective (CAD) document.
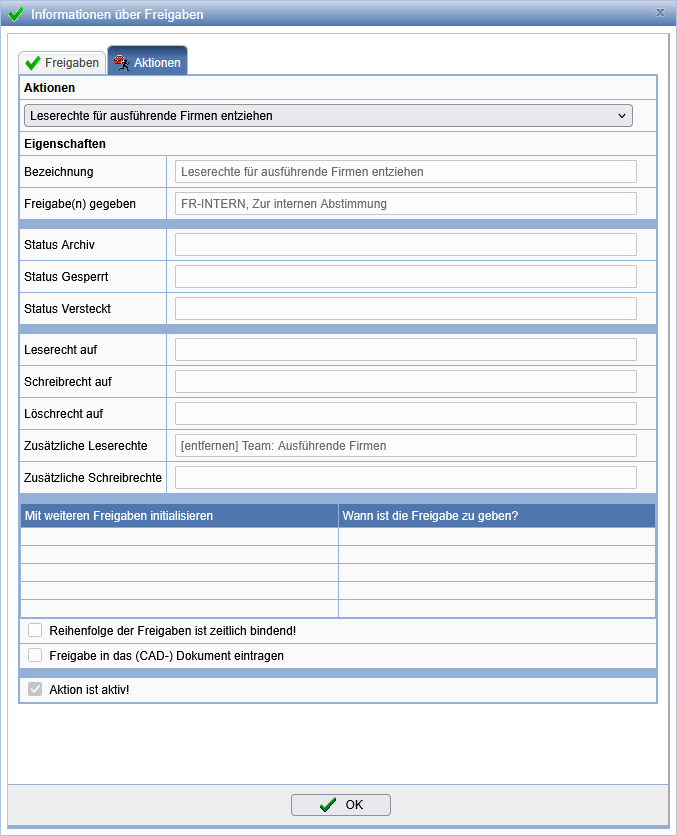
With the granting or rejection of an approval, actions such as changing access rights or setting status values can also be configured. When using Workflows approvals can also be used to control the further course.
Create Approvals
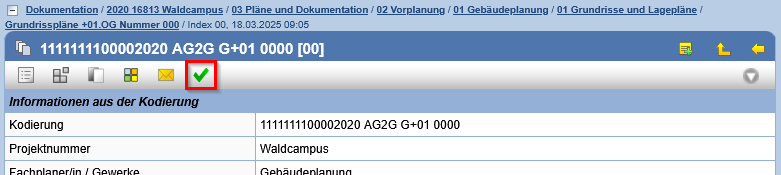
Approvals are created via the symbol  in the action bar of folders
and maps, indexes and (CAD) documents.
in the action bar of folders
and maps, indexes and (CAD) documents.
Alternatively, you can also create approvals via the action in tables..

In the input mask for creating the approval, select in the field Approval ones of the approvals available in the project. In the field Status you can specify whether the approval is Open Granted, Issued with revision, Partial Release or as Rejected is to be created. If you select the status Open, the release can later be approved or rejected by the responsible processor. Otherwise, the release is created without the possibility of modification.
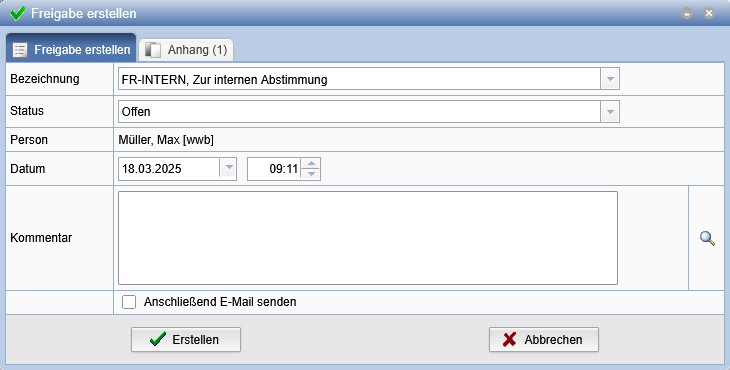
The tab sheet Attachment informs you about the (CAD) documents for which this release is being created.
With the action Insert you can add further documents to the release.
The documents must be in the clipboard for this.
With the action you can remove documents from the selection.
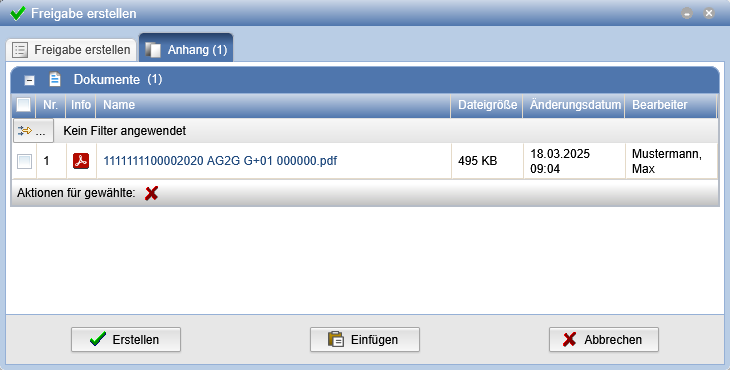
With the option Send E-mail subsequently the editor for creating a message is opened after the creation of the release.
After creating the release, it is displayed again in summary form.
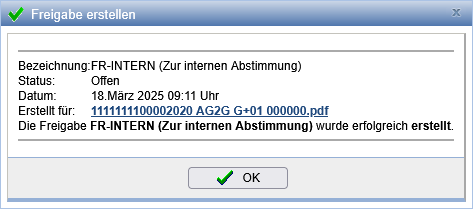
The created releases are displayed under the information area of the respective document or index.

Grant Releases
Open releases can be granted retrospectively.
Click on the action to grant a release at the corresponding release.

Adjust the proposed date if necessary and select in the field Status whether you want to issue the release as Issued, Issued with Revision, Partial Release or Rejected would like to grant.
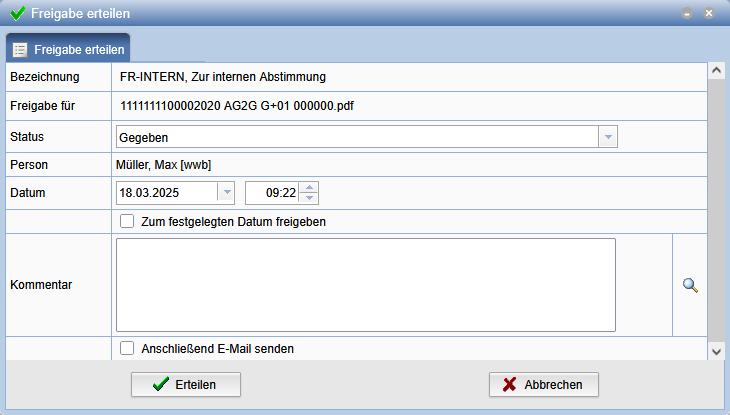
With the option Send Email Subsequently, after creating the release, the editor opens to create a message.
Based on the granted releases, these are displayed under the information area for a document or an index. Once granted, releases cannot be changed.
Information about Releases
For better overview, the action is located in the action bar of the project documentation: Display Releases. To execute this action, you must have the role of Document Manager and, additionally, at least one release must be defined in the project.
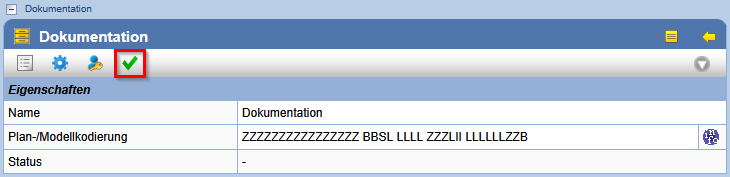
When you click this icon, a dialog opens that clearly displays all releases and actions contained in the project.